
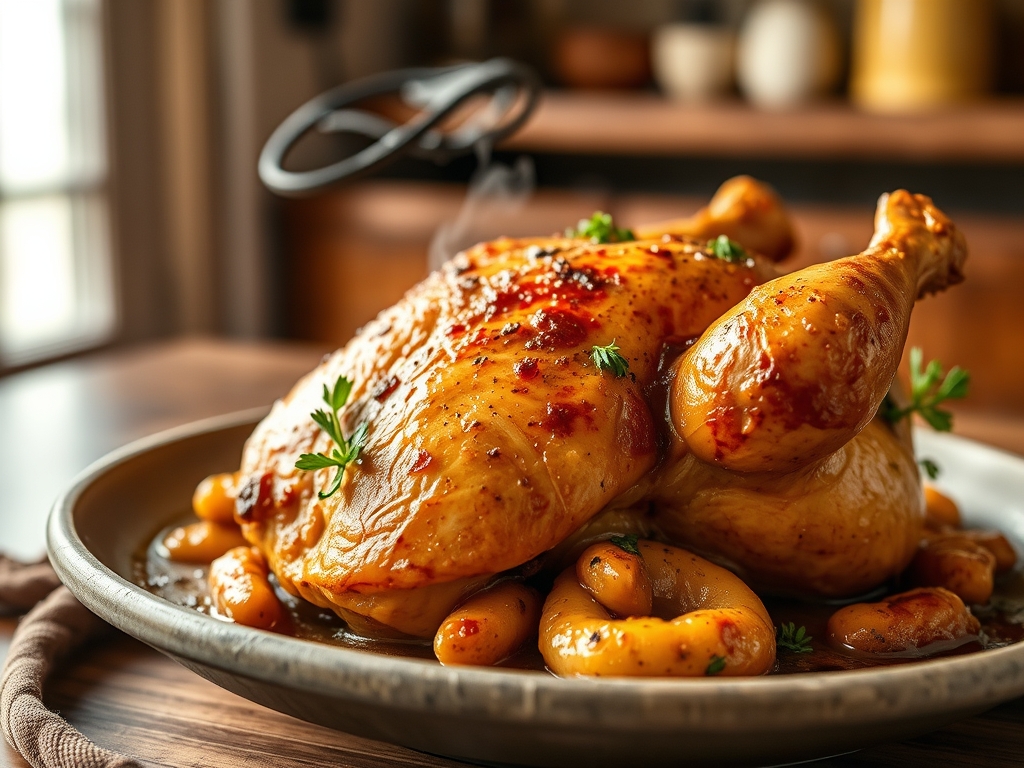
The scent of rosemary and rendered fat hitting a hot cast iron surface is the universal signal that a kitchen has a soul. When you are hunting for the ultimate dutch oven whole chicken recipes; you are really searching for that elusive combination of shattered-glass skin and meat so succulent it practically falls off the bone. This isn't just Sunday dinner; it is a lesson in thermodynamics and moisture retention.
A heavy cast iron pot acts as a miniature vault. It traps steam to hydrate the breast meat while the radiant heat from the lid mimics a professional rotisserie. We are moving beyond basic roasting into the realm of true culinary engineering. Forget dry, stringy poultry. We are aiming for a bird that has been perfectly lacquered in its own juices; a masterpiece of golden hues and piquant aromatics that will make your kitchen feel like a high-end French bistro.
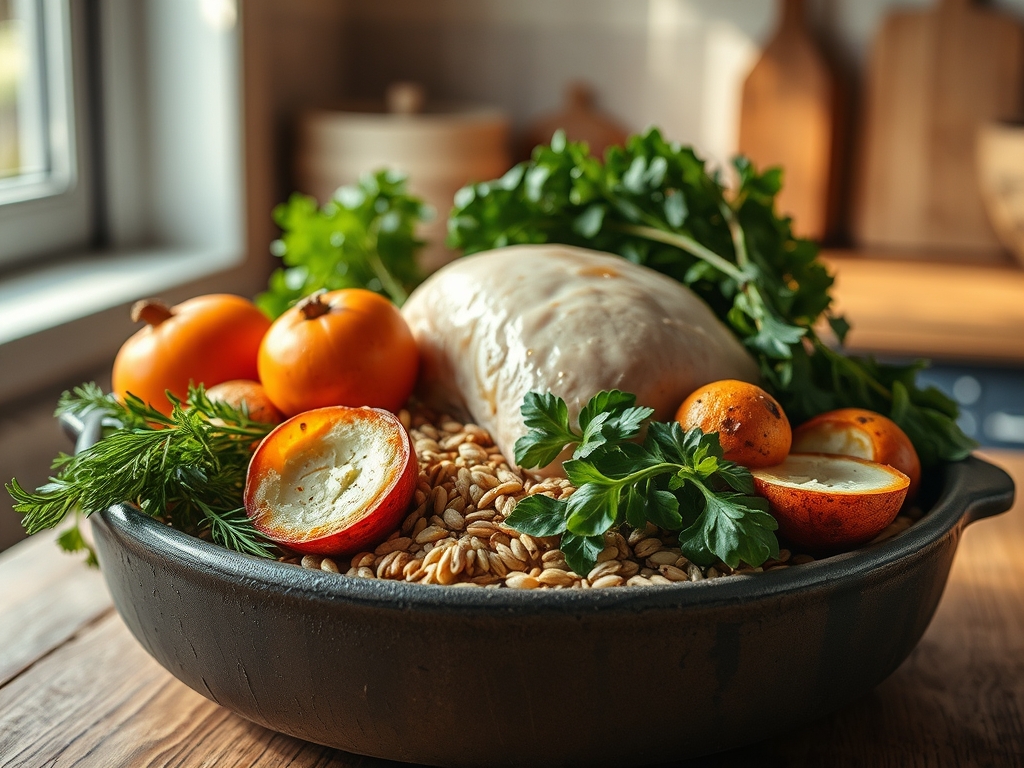
The Gathers:
To execute this flawlessly, your mise-en-place must be precise. Start with a four to five-pound organic bird. You will need high-quality kosher salt; its jagged crystal structure is essential for drawing out surface moisture to ensure a crisp exterior. For the fat, use a combination of unsalted European-style butter and a high-smoke-point oil like avocado oil. The butter provides the milk solids for Maillard browning, while the oil prevents the fats from scorching during the initial sear.
Your aromatics should include a whole head of garlic sliced crosswise to expose the cloves, a handful of woody herbs like thyme and rosemary, and a large yellow onion to act as a natural trivet. For the liquid component, keep a dry white wine or a viscous, gelatin-rich chicken stock nearby.
Smart Substitutions: If you are avoiding dairy, sub the butter for duck fat or schmaltz to maintain that deep, savory profile. If you lack fresh herbs, a high-quality poultry seasoning rubbed under the skin works, but remember that dried herbs are more potent; use a one-to-three ratio compared to fresh.
The Clock
Efficiency in the kitchen is about mastering the Chef's Flow. Total preparation time is approximately 20 minutes, which includes patting the bird dry and trussing. The cook time generally spans 75 to 90 minutes, depending on the exact weight of your poultry.
The flow is simple: Prep while the oven preheats to 425 degrees Fahrenheit. Sear the bird on the stovetop for 10 minutes to jumpstart the crust. Roast covered for 45 minutes to lock in moisture, then uncovered for the final 20 to 30 minutes to develop that deep mahogany color. Finally, a mandatory 15-minute rest period is non-negotiable for juice redistribution.
The Masterclass
1. The Surface Prep
Use a digital scale to confirm the weight, then use paper towels to remove every trace of moisture from the skin. A dry bird is a crispy bird. Season aggressively with salt and pepper, ensuring you reach the interior cavity.
Pro Tip: This is about evaporative cooling. If the skin is damp, the oven's energy is wasted turning water into steam rather than browning the skin. Using a microplane to zest a little lemon over the salt can also help break down surface proteins for a better crunch.
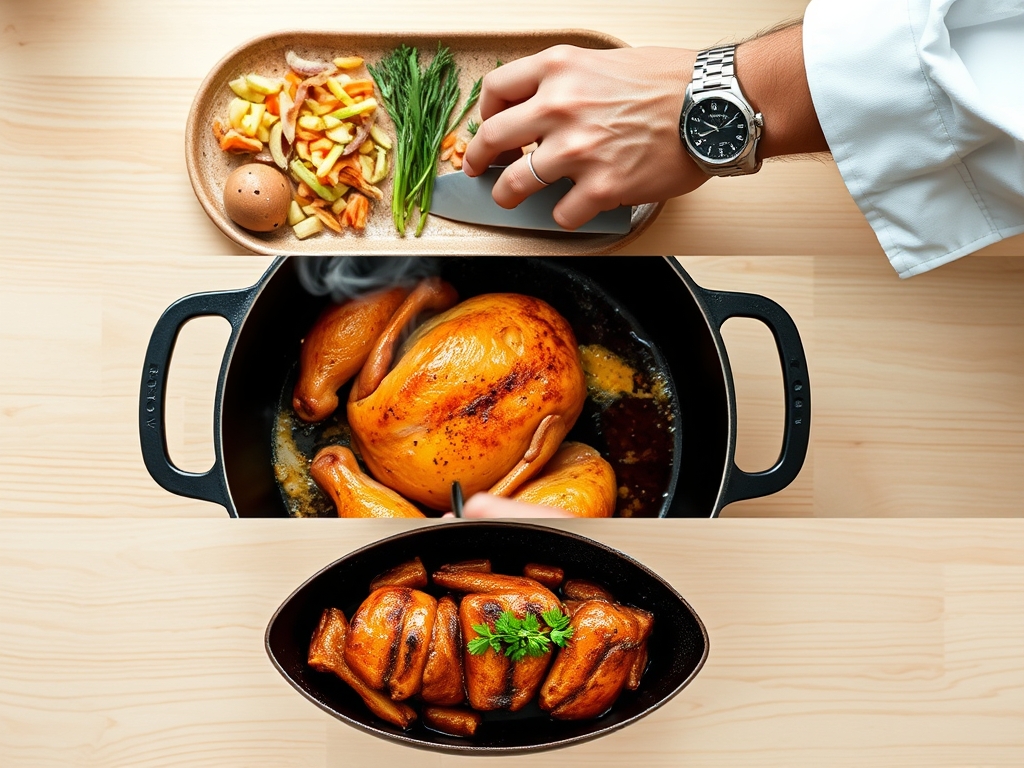
2. The Sear and Render
Place your dutch oven over medium-high heat. Add your oil and, once shimmering, use heavy-duty tongs to carefully lower the chicken breast-side down. Sear until the skin releases naturally from the bottom of the pot.
Pro Tip: This stage initiates the Maillard reaction, a chemical dance between amino acids and reducing sugars. Do not force the flip; the chicken will "tell" you it is ready when the proteins have fully coagulated and detached from the cast iron.
3. The Aromatic Bed
Remove the chicken briefly to a clean plate. Toss in your halved garlic, onions, and herbs. Use a saucier or a wooden spoon to stir them in the rendered fat until they become fragrant and slightly translucent.
Pro Tip: This creates a flavor infusion. The fat acts as a solvent, extracting fat-soluble flavor compounds from the herbs and garlic, which will then permeate the meat as it roasts.
4. The Low and Slow Roast
Place the chicken back into the pot, breast-side up, resting on the bed of aromatics. Pour in half a cup of stock or wine, being careful not to splash the skin. Cover with the heavy lid and transfer to the oven.
Pro Tip: The heavy lid creates a closed system. This allows the collagen in the connective tissues to transform into gelatin without the moisture escaping, resulting in a succulent, "melt-in-your-mouth" texture.
5. The Final Crisp
Remove the lid for the final 25 minutes of cooking. Use a bulb baster to drizzle some of the pan juices over the legs, but avoid the breast skin to keep it crisp.
Pro Tip: This stage utilizes convection heat to finish the browning. Monitor the internal temperature with a digital meat thermometer; you are looking for 160 degrees Fahrenheit in the thickest part of the thigh, as thermal carryover will bring it to the safe 165 degrees while resting.
The Deep Dive
Macro Nutrition: A standard serving of dutch oven chicken is a powerhouse of lean protein, healthy fats, and essential minerals like selenium and phosphorus. By using the dutch oven method, you retain more B-vitamins that are often lost in high-heat open roasting.
Dietary Swaps: For a Keto version, this recipe is already perfect. For Vegan guests, use the same dutch oven technique with a whole head of cauliflower, basting with a miso-tahini glaze. For Gluten-Free needs, simply ensure your chicken stock is certified GF.
The Fix-It:
- Soggy Skin: If the skin isn't crisping, your oven temp might be low. Crank it to 450 for the last 10 minutes.
- Dry Breast: This happens if the bird isn't rested. Always rest for 15 minutes to allow the fibers to reabsorb the liquid.
- Burnt Bottom: If the onions are scorching, add a splash more liquid to the bottom of the pot to deglaze the surface.
Meal Prep: To maintain "day-one" quality, reheat leftovers in a covered skillet with a tablespoon of water. This creates a gentle steam that re-hydrates the meat without making the skin rubbery.
The Wrap-Up
Mastering dutch oven whole chicken recipes is the ultimate "flex" for any home cook. It combines the technical precision of a scientist with the soul of a grandmother. You have managed the heat, manipulated the proteins, and created a centerpiece that is as beautiful as it is delicious. Now, grab your bench scraper to clear the board, pour a glass of that leftover white wine, and enjoy the fruits of your labor.
The Kitchen Table
How do I get the skin extra crispy?
Ensure the chicken is bone-dry before seasoning. Salt it at least an hour in advance and leave it uncovered in the fridge. This "dry brining" dehydrates the skin, allowing it to crisp faster once it hits the hot dutch oven.
Can I cook vegetables with the chicken?
Absolutely. Add dense root vegetables like carrots or fingerling potatoes around the bird. They will fry in the rendered chicken fat, absorbing incredible flavor while acting as a natural rack to keep the chicken out of the liquid.
What size dutch oven is best for a whole chicken?
A 5.5-quart to 6-quart round dutch oven is the industry standard. It provides enough headspace for heat circulation while being snug enough to prevent the aromatics and juices from spreading too thin and burning.
Do I need to truss the chicken?
Trussing with kitchen twine ensures even cooking by keeping the wings and legs tucked close to the body. This prevents the extremities from drying out before the thickest part of the breast reaches the safe internal temperature.