
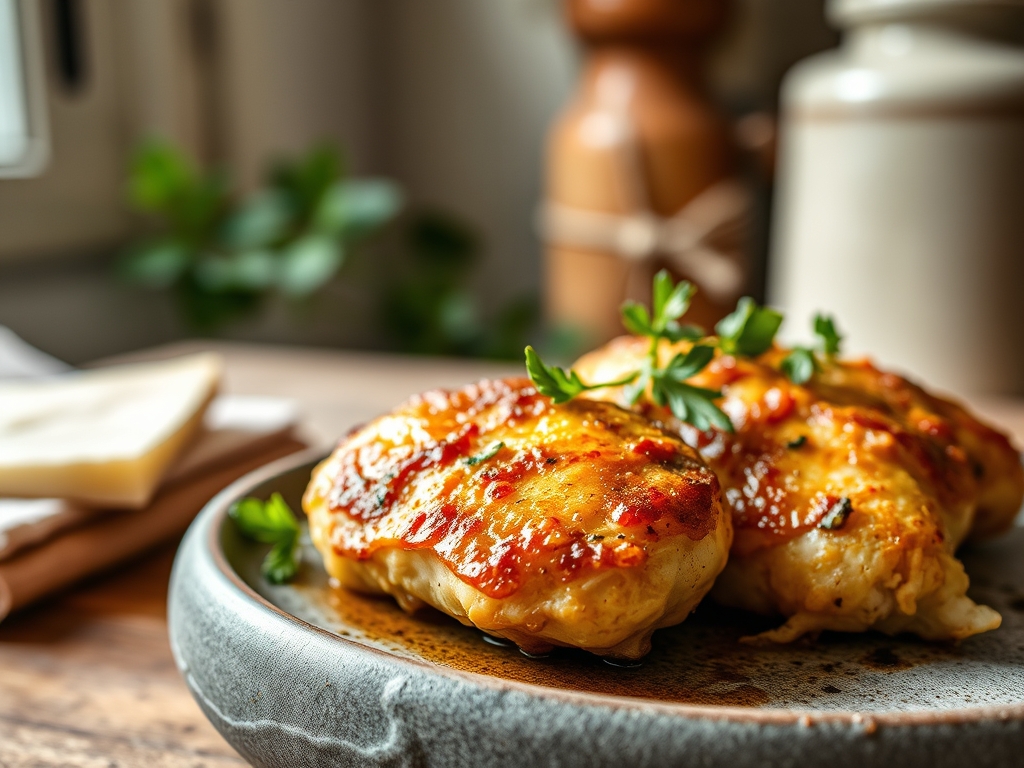
Picture the golden, craggy landscape of a perfectly fried cutlet or the velvet embrace of a dumpling that defies the laws of gravity. When you master bisquick chicken recipes, you are not just cooking; you are conducting a symphony of chemistry and comfort. The scent of toasted flour and rendering fats fills the kitchen, signaling that dinner is finally under control.
This is the magic of a pre-blended leavening system. By utilizing a mix that already balances shortening, flour, and baking powder, you bypass the tedious measuring of dry goods and jump straight into the culinary action. Whether you are craving a crunchy oven-fried feast or a nostalgic pot pie, these bisquick chicken recipes provide the structural integrity and flavor profile required for a five-star result with minimal effort. We are going to dive deep into the molecular mechanics of why this works, ensuring every bite is a masterclass in texture and taste.
The Gathers:
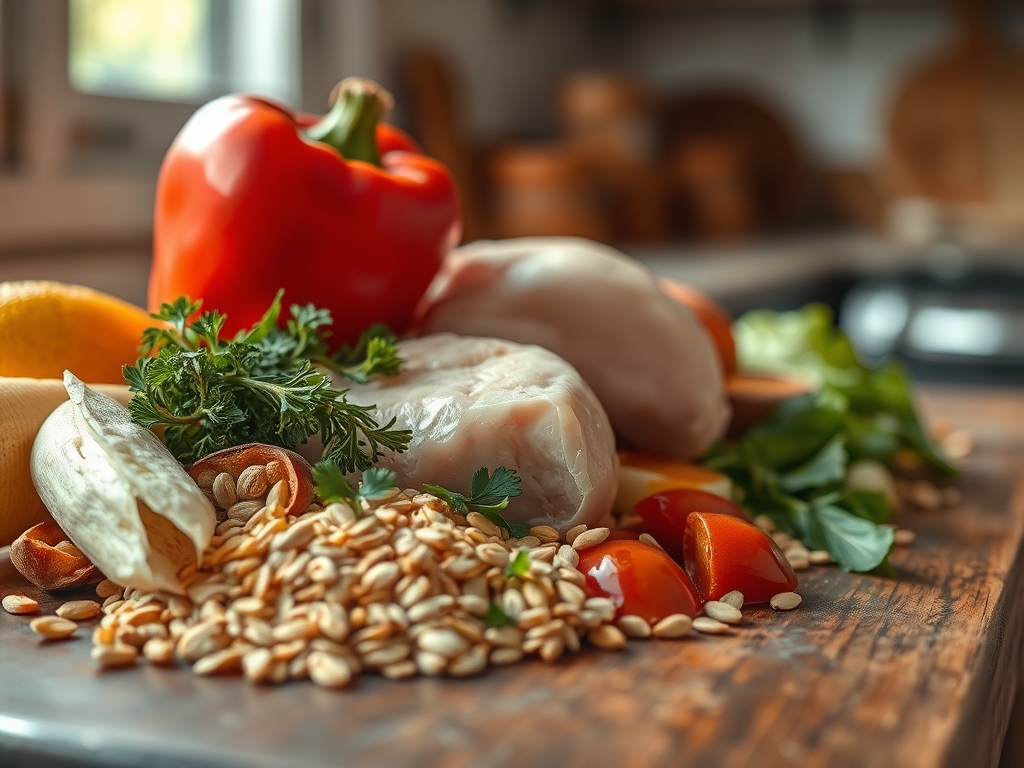
Before we ignite the burners, we must assemble our mise-en-place with clinical precision. You will need high-quality poultry; look for air-chilled chicken breasts or thighs to minimize excess water weight, which can lead to a soggy crust. Your dry base is the star, but the supporting cast is equally vital. Gather fine sea salt, freshly cracked black pepper, and aromatics like smoked paprika and garlic powder.
For the wet components, reach for buttermilk or whole milk. The lactic acid in buttermilk acts as a tenderizer, breaking down protein strands for a more succulent finish. Use a digital scale to measure your mix if you want absolute consistency, as volume can vary based on how the flour has settled in the box.
Smart Substitutions: If you find yourself out of the classic mix, you can emulate the effect by pulsing two cups of all-purpose flour, three teaspoons of baking powder, and half a teaspoon of salt with four tablespoons of cold butter in a food processor until it reaches a sandy texture. For a piquant kick, swap regular milk for a mixture of Greek yogurt and a splash of lemon juice to increase the acidity and depth of flavor.
The Clock
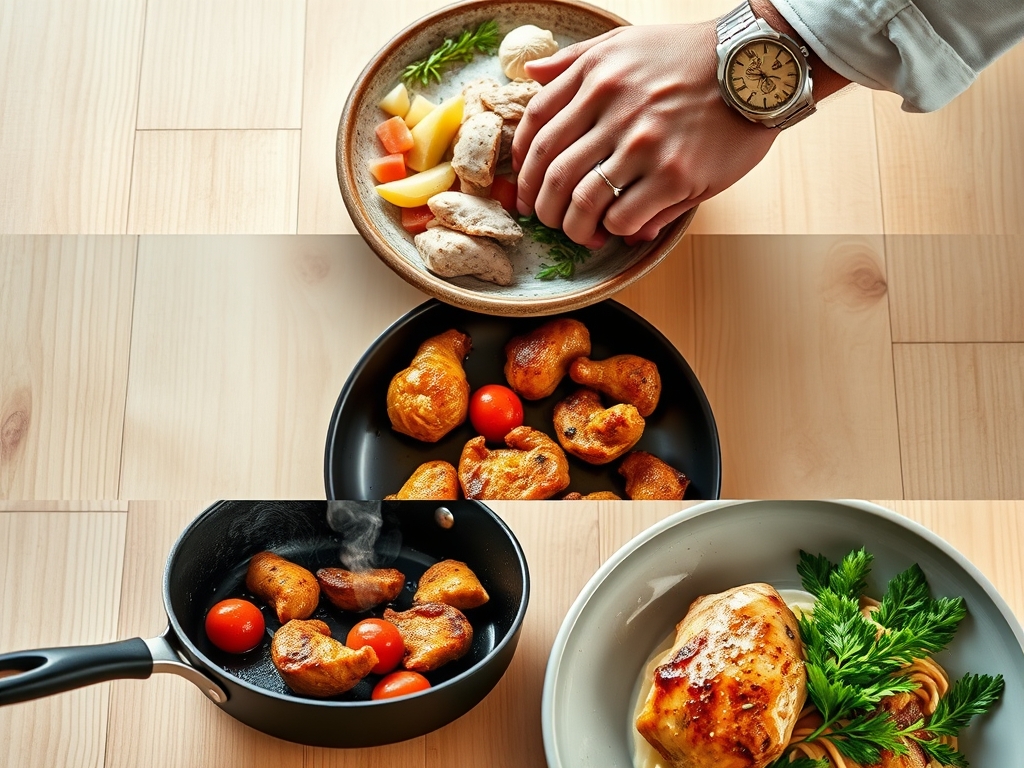
Efficiency in the kitchen is all about the "Chef's Flow." For most bisquick chicken recipes, you are looking at a preparation window of fifteen minutes and a thermal processing time of twenty to thirty minutes. The secret to managing the clock is overlapping your tasks. While your oven preheats to a steady 425 degrees Fahrenheit, you should be dredging and coating.
Never wait for the oven to reach temperature before you start your prep. By the time the digital thermometer on your oven alerts you, your chicken should be resting on a wire rack, ready for the heat. This synchronization ensures that the leavening agents in the mix do not lose their potency before they hit the oven. If the batter sits too long, the carbon dioxide bubbles will escape, resulting in a dense, leaden coating rather than a light and airy one.
The Masterclass
1. The Surface Preparation
Pat your chicken dry with paper towels until the surface is completely matte. Any residual moisture will turn to steam under the coating, causing the breading to slough off during the cooking process. Use a sharp chef's knife to slice the poultry into uniform pieces for even heat distribution.
Pro Tip: This stage is about maximizing the Maillard reaction. By removing surface moisture, you allow the temperature to rise rapidly above 285 degrees Fahrenheit, where sugars and amino acids react to create that signature savory browning and complex aroma.
2. The Dredge and Dip
Create a three-station assembly line using shallow bowls. First, a light dusting of the dry mix; second, an egg wash or buttermilk bath; and third, a thick coating of the seasoned mix. Use one hand for dry ingredients and the other for wet to avoid "club hand" buildup.
Pro Tip: This creates an emulsification bridge. The initial flour dusting provides a "grip" for the liquid, while the final layer creates the structural lattice that traps air and fat, leading to a crispy exterior.
3. The Fat Integration
If you are oven-frying, melt butter in your baking dish before adding the chicken. Place the coated pieces directly into the hot fat. This mimics the environment of a deep fryer without the mess, ensuring the bottom of the chicken becomes as golden as the top.
Pro Tip: This involves thermal conduction. The hot butter transfers heat more efficiently than air alone, ensuring the base of the chicken sears immediately, which prevents the coating from sticking to the pan.
4. The Thermal Transition
Place your chicken in the center rack of the oven. Avoid overcrowding the pan; leave at least an inch of space between each piece to allow for proper air circulation. Use tongs to flip the chicken halfway through the cooking time to ensure an even tan on both sides.
Pro Tip: Watch for enzymatic browning. As the heat penetrates the meat, the proteins denature and release juices. If the pieces are too close, this moisture creates a localized "steam zone" that ruins the crunch.
5. The Rest and Recovery
Once the internal temperature reaches 165 degrees Fahrenheit on a digital probe thermometer, remove the chicken from the heat. Transfer it to a cooling rack set over a baking sheet rather than a flat plate or paper towel.
Pro Tip: This accounts for thermal carryover. The internal temperature will continue to rise by 2 to 5 degrees after removal. Resting on a rack prevents "sweating," where trapped steam softens the bottom crust you worked so hard to achieve.
The Deep Dive
When we look at the macro nutrition of these bisquick chicken recipes, we see a balanced profile of protein and carbohydrates. A standard serving provides approximately 28 grams of protein and 22 grams of carbohydrates. To lighten the load, you can utilize a "Heart Smart" version of the mix or substitute half of the mix with almond flour for a nutty, lower-carb alternative.
Dietary Swaps: For a gluten-free version, use the certified gluten-free mix available in most stores. For a vegan approach, use a "flax egg" (ground flaxseeds mixed with water) and a plant-based butter substitute. The science of the rise remains the same, though the crumb may be slightly more delicate.
The Fix-It:
- Soggy Crust: Your oven temperature was likely too low. Ensure your oven is fully calibrated; a heavy-bottomed skillet or preheated stone can help maintain heat.
- Bland Flavor: You likely under-seasoned the dry mix. Remember that the mix is a blank canvas; always double the herbs you think you need.
- Dry Meat: You overcooked it. Always pull the chicken at 160 degrees and let carryover cooking finish the job.
Meal Prep: To reheat and maintain "day-one" quality, avoid the microwave. The microwave agitates water molecules, which turns the breading into a rubbery mess. Instead, use an air fryer or a toaster oven at 350 degrees for five minutes to re-crisp the fats and aerate the coating.
The Wrap-Up
Mastering bisquick chicken recipes is your ticket to becoming the MVP of weeknight dinners. By understanding the interplay of moisture, heat, and leavening, you have moved beyond following a box and into the realm of true culinary intuition. These dishes are soulful, scientific, and spectacularly easy once you respect the chemistry of the crunch. Now, grab your microplane to zest some lemon over that finished plate and enjoy the fruits of your labor!
The Kitchen Table
Can I make these recipes ahead of time?
You can prep the chicken and the dry mix separately, but do not coat the meat until you are ready to cook. Pre-coating leads to a gummy texture as the flour absorbs the meat's moisture and loses its leavening power.
How do I keep the coating from falling off?
The "Dry-Wet-Dry" method is essential. Patting the chicken completely dry before the first flour dredge ensures a molecular bond. Additionally, letting the coated chicken rest for five minutes before cooking helps the breading set firmly to the surface.
What is the best way to store leftovers?
Store leftovers in an airtight container lined with a paper towel to absorb excess humidity. Keep them in the coldest part of the refrigerator for up to three days. Reheat in a hot oven to restore the original crispness.
Can I use frozen chicken for these recipes?
Yes, but you must thaw the chicken completely and pat it dry. Frozen chicken releases excess water as it cooks, which will steam the coating from the inside out, resulting in a soggy, unappealing texture and uneven cooking.