
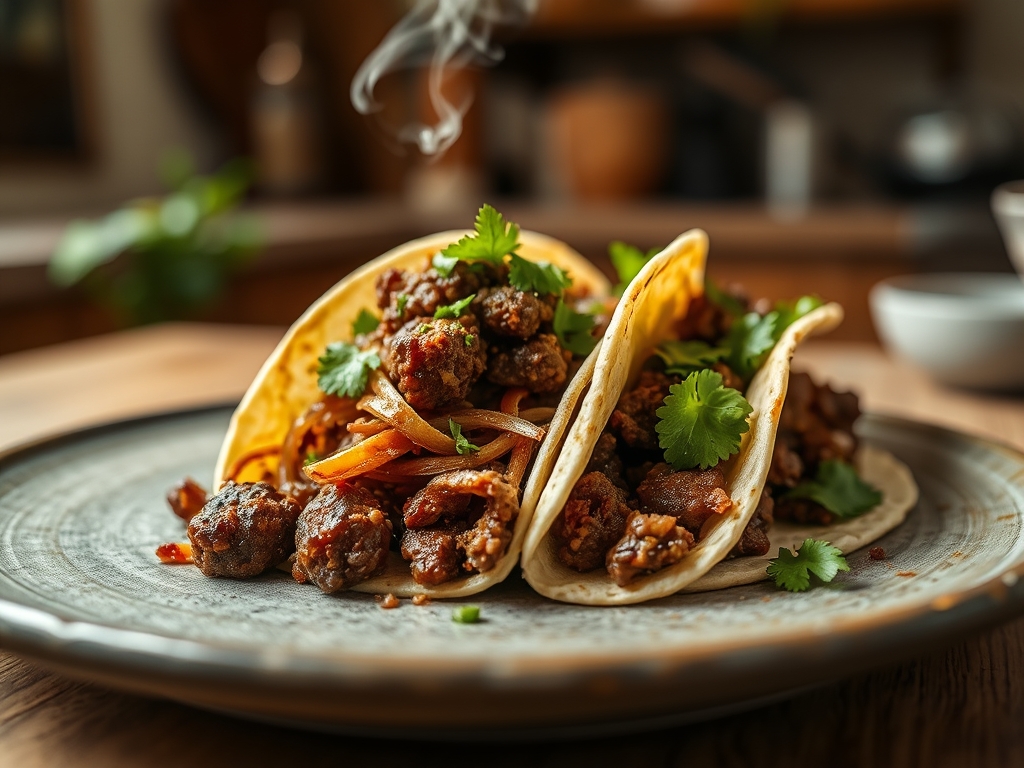
Close your eyes and listen for that specific, aggressive sizzle that only happens when cold protein hits a scorching cast iron surface. That sound is the beginning of the best mexican ground beef recipes tacos you will ever make; it is the sound of moisture evaporating to make room for deep, complex flavor. We have all been there, staring at a grey, sad pile of steamed meat in a pan and wondering where the restaurant magic went. The secret is not just in the spice packet; it is in the molecular transformation of the beef itself. Most home cooks treat ground beef as a utilitarian staple, but we are going to treat it like a fine steak. By understanding the physics of heat transfer and the chemistry of fat emulsification, we can turn a humble pound of chuck into a piquant, juicy masterpiece that holds its own against any street vendor in Mexico City. Grab your favorite heavy-bottomed skillet and let us get technical.
The Gathers:
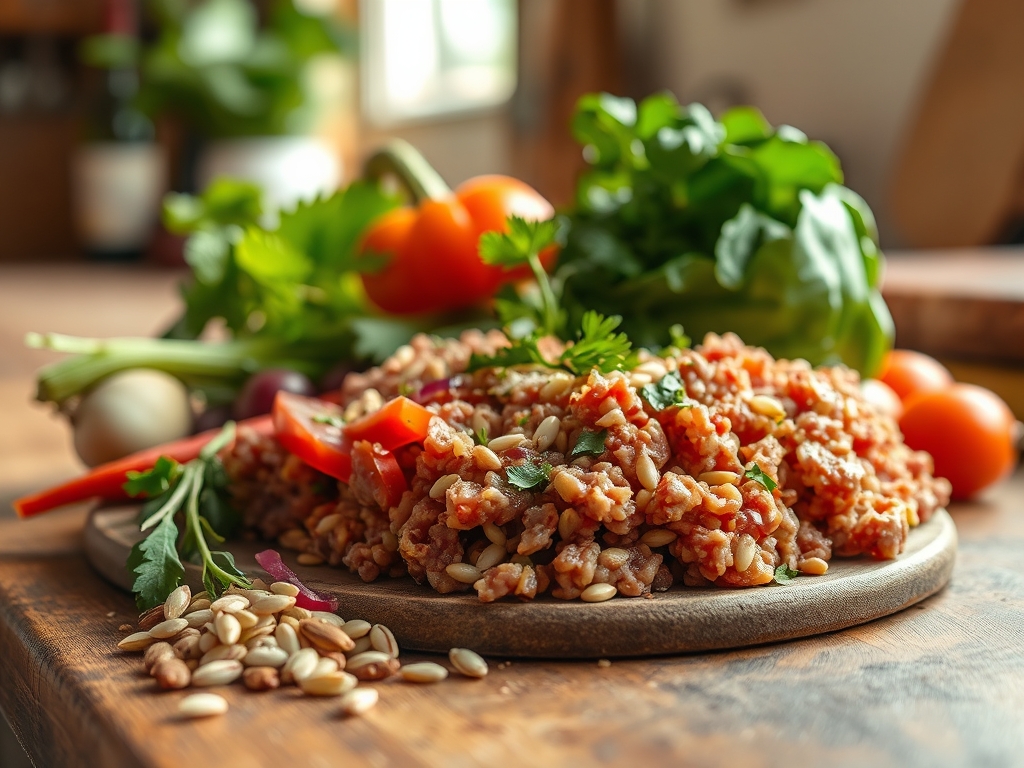
To achieve elite results, your mise-en-place must be precise. We start with the foundation: one pound of 80/20 ground chuck. This specific fat ratio is non-negotiable because the fat acts as a flavor carrier for the fat-soluble compounds in your spices. You will need a digital scale to ensure your dry rub is balanced. For the aromatics, gather one small white onion, three cloves of garlic, and a single jalapeno.
The spice profile requires high-quality, toasted ground cumin, smoked paprika, dried Mexican oregano (which is more citrusy than its Mediterranean cousin), and ancho chili powder for a dark, raisin-like sweetness. You will also need a microplane for the garlic to create a paste that integrates seamlessly into the fat.
Smart Substitutions: If you are looking for a leaner profile, you can swap half the beef for ground bison, which offers a richer, more iron-forward flavor. If you lack ancho chili powder, a tablespoon of tomato paste mixed with a pinch of cocoa powder can mimic that deep, fermented complexity. For a citrus kick, use fresh lime zest rather than bottled juice to avoid adding unnecessary water to the pan.
The Clock
Efficiency in the kitchen is about managing the Chef's Flow. This entire process takes exactly 30 minutes if you follow the sequence. Spend the first 10 minutes on prep: dicing your aromatics and measuring your spices. The cooking phase takes 15 minutes, with the final 5 minutes reserved for the "rest," allowing the juices to redistribute and thicken into a viscous sauce. Do not rush the browning phase; patience here is the difference between boiled meat and a culinary triumph.
The Masterclass
1. The Tempering and the Sear
Remove your beef from the refrigerator 20 minutes before cooking to take the chill off. Place your heavy-bottomed skillet over medium-high heat until a drop of water dances and evaporates instantly. Add a teaspoon of high-smoke-point oil and press the beef into the pan in one large, flat disc.
Pro Tip: This technique maximizes the Maillard reaction. By keeping the meat in a single mass initially, you reduce the surface area exposed to air and increase the contact with the hot metal, preventing the meat from "bleeding" moisture and steaming itself.
2. The Fat Render and Fond Development
Once a deep brown crust has formed on the bottom, use a bench scraper or a sturdy spatula to flip the meat in large chunks. Now, begin breaking it down into smaller pieces. As the fat begins to render, it will liquefy and coat the bottom of the pan, creating a "fond" (those delicious brown bits).
Pro Tip: Fat is a thermal conductor. As the beef fat liquefies, it raises the temperature of the meat particles higher than the boiling point of water, allowing for even browning across every single grain of beef.
3. Infusing the Aromatics
Push the meat to the edges of the pan and drop your finely diced onions and jalapenos into the center. Use the rendered beef fat to sauté the vegetables until they are translucent and slightly caramelized. Add the garlic paste during the last 60 seconds to avoid burning the delicate sulfur compounds.
Pro Tip: This is called layering flavors. By cooking the vegetables in the beef fat, you are creating a cohesive flavor profile where the aromatics and the protein are chemically bonded before the liquids are even added.
4. Blooming the Spices
Sprinkle your spice blend directly onto the hot fat in the center of the pan. Stir for 30 to 45 seconds until the kitchen smells like a dream.
Pro Tip: Many flavors in spices are fat-soluble. "Blooming" them in hot oil releases essential oils and fat-soluble volatile compounds that would remain trapped if you simply stirred the spices into a watery sauce.
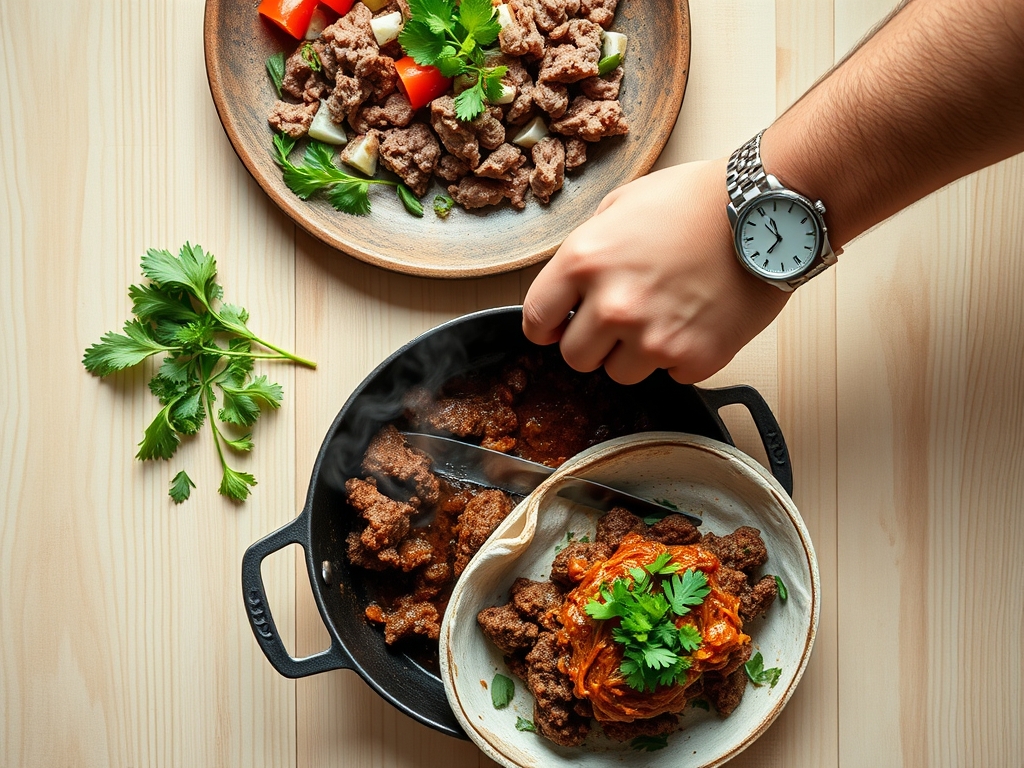
5. The Deglaze and Emulsification
Pour in half a cup of beef stock or water. Use your spatula to scrape every bit of that brown fond off the bottom of the pan. Reduce the heat to low and let the liquid simmer until it reduces by half, stirring occasionally to incorporate the fat into the liquid.
Pro Tip: The gelatin in the beef stock acts as a natural emulsifier. As the liquid reduces, it creates a silky, glossy coating that clings to the meat rather than puddling at the bottom of your taco shell.
6. The Final Rest and Carryover Heat
Turn off the heat while the meat still looks slightly "wet." The internal temperature will continue to rise even after the flame is out.
Pro Tip: This is known as thermal carryover. If you cook the meat until it looks dry in the pan, it will be tough and grainy by the time it hits the table. The rest period allows the protein fibers to relax and reabsorb the flavorful juices.
The Deep Dive
Macro Nutrition: A standard serving of this beef (approx. 4 oz) contains roughly 240 calories, 22g of protein, and 15g of fat. It is a powerhouse of Vitamin B12 and Zinc.
Dietary Swaps: For a Keto version, serve the beef in romaine lettuce cups with extra avocado for healthy fats. For a Vegan alternative, use a walnut and mushroom crumble, adding a teaspoon of liquid smoke to mimic the "char" of the beef. This recipe is naturally Gluten-Free, provided your spice blends do not contain anti-caking agents like flour.
The Fix-It:
- Problem: The meat is grey and watery. Fix: Crank the heat and stop stirring. Let the water evaporate and the fat take over the frying process.
- Problem: It is too salty. Fix: Add a squeeze of fresh lime juice or a teaspoon of honey; the acid or sugar will mask the perceived saltiness.
- Problem: The spices taste bitter. Fix: You likely burnt the garlic or cumin. Stir in a tablespoon of tomato sauce to provide a sweet, acidic buffer.
Meal Prep: To reheat, avoid the microwave if possible. Use a small saucier with a tablespoon of water or stock over low heat. This "re-hydrates" the fat and prevents the beef from becoming rubbery.
The Wrap-Up
Mastering mexican ground beef recipes tacos is about respecting the science of the skillet. When you stop "browning" and start "searing," you unlock a world of texture and depth that transforms a simple Tuesday night dinner into a gourmet event. Remember: heat the pan, bloom the spices, and never, ever skip the rest. Your tortillas are waiting!
The Kitchen Table
How do I keep the meat from being greasy?
Drain the excess liquid after the initial browning but before adding spices. However, leave about one tablespoon of fat to ensure the spices bloom properly and the meat stays moist during the simmering process.
Can I use pre-packaged taco seasoning?
You can, but homemade blends allow for better control over sodium and "fillers." If using a packet, bloom it in the fat just like fresh spices to maximize the flavor of the dried herbs.
What is the best way to warm tortillas?
Use tongs to hold tortillas directly over a gas flame for 5 seconds per side. This creates charred "leopard spots" and improves the structural integrity of the tortilla, preventing it from tearing under the weight of the beef.
How long does the cooked beef last?
Stored in an airtight container, the beef will stay fresh for up to four days. The flavors actually deepen overnight as the spices continue to infuse into the fat, making leftovers arguably better than day one.