
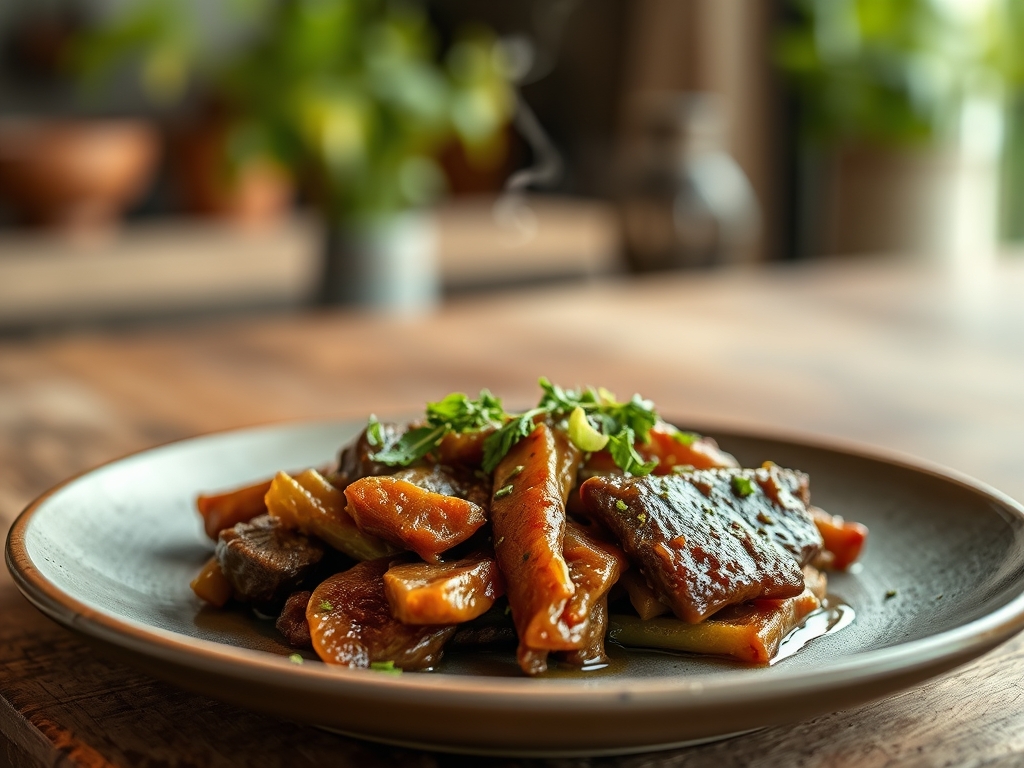
Imagine the sound of a heavy-bottomed skillet meeting a high-flame burner; it is the percussion of a kitchen about to find its soul. The air begins to change as the sharp, piquant scent of roasted peppers mingles with the deep, savory aroma of rendering fat. These green chile beef recipes are not just meals; they are a masterclass in flavor architecture. We are talking about that perfect intersection of New Mexican heat and the buttery richness of prime protein. Whether you are craving a slow-simmered stew or a flash-seared taco, the versatility of these ingredients creates a culinary gravity that pulls everyone to the table.
The magic lies in the contrast. You have the brightness of the capsaicin hitting your palate first, followed immediately by the umami-heavy satisfaction of the beef. It is a chemical romance that relies on high-quality fat and precise heat management. When you master these green chile beef recipes, you are essentially learning how to balance acidity, heat, and richness in a single pot. We are going to dive deep into the molecular mechanics of why these flavors work so well together, ensuring that every bite you take is a testament to your growing kitchen prowess. Grab your apron and your sharpest chef knife; we are about to turn your kitchen into a high-end Southwestern bistro.
The Gathers:
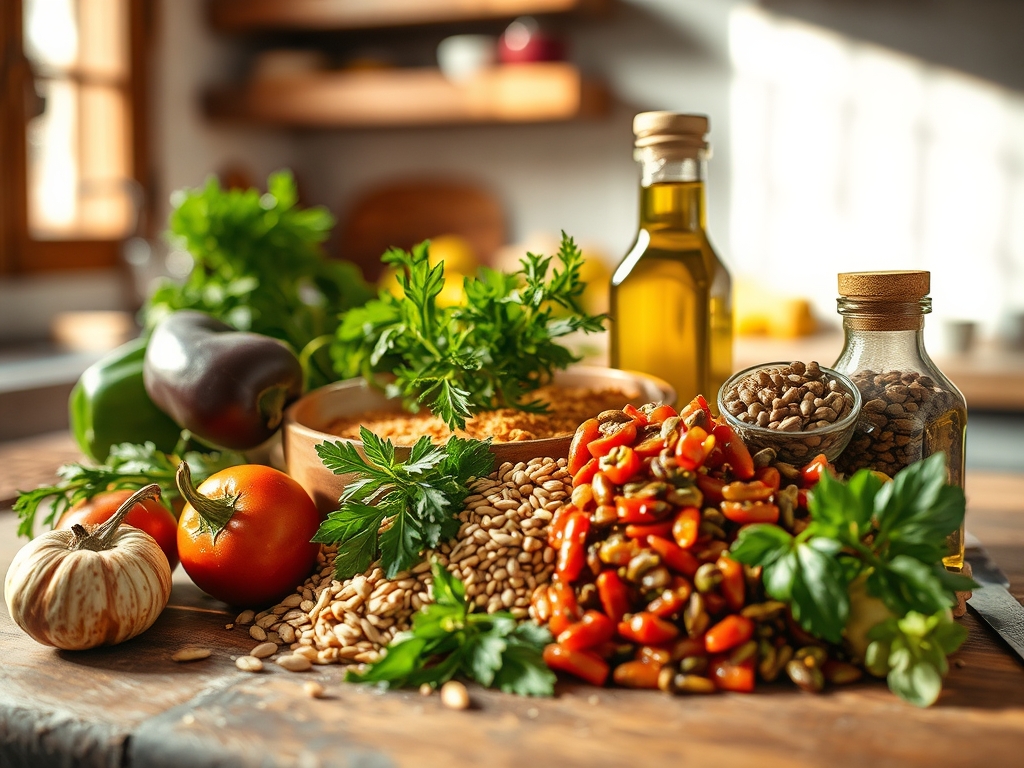
To execute these green chile beef recipes with precision, your mise-en-place must be flawless. Start with your protein: look for highly marbled cuts like chuck roast or short ribs. The intramuscular fat is essential because it will render during the cooking process, creating a luxurious mouthfeel and a viscous sauce. For the chiles, authentic Hatch green chiles are the gold standard, but Anaheim or poblano peppers work beautifully if you need a milder profile. You will also need aromatics like white onions and fresh garlic, which provide the sulfurous backbone for the dish.
Your pantry staples should include high-smoke-point oils like avocado or grapeseed oil to facilitate the Maillard reaction without burning. Keep a bottle of dry white wine or a splash of apple cider vinegar on hand to deglaze the pan and lift those caramelized brown bits (fond) from the bottom. For seasoning, use a high-quality kosher salt to draw out moisture and toasted cumin seeds for an earthy depth.
Smart Substitutions:
If you are looking to lighten the profile, swap the beef for lean bison, which offers a similar iron-rich flavor with less saturated fat. For those avoiding nightshades, a blend of roasted tomatillos and mild green bell peppers can mimic the visual and textural experience of chiles, though the heat profile will shift. If you cannot find fresh chiles, high-quality canned whole chiles are a scientifically sound backup; just ensure you drain them thoroughly to avoid excess water vapor during the searing phase.
The Clock
Efficiency in the kitchen is about understanding "Chef's Flow." For most of these green chile beef recipes, you are looking at a preparation time of 30 minutes and a cook time that varies from 20 minutes for stir-fries to 3 hours for braises. The key is to utilize your downtime. While the beef is searing, use your bench scraper to organize your chopped aromatics. While the pot simmers, prepare your garnishes like radishes or cilantro.
By staggering your tasks, you ensure that the heat remains consistent and your workspace stays clear. Remember that beef requires a resting period after cooking to allow the muscle fibers to relax and reabsorb juices. Factor in at least 10 to 15 minutes of resting time into your total schedule to ensure the most tender results possible.
The Masterclass

1. Tempering and Prepping the Protein
Remove your beef from the refrigerator at least 30 minutes before cooking. Use a paper towel to pat the surface bone-dry. Moisture is the enemy of a good sear; any surface water will turn to steam, preventing the beef from reaching the temperatures required for browning.
Pro Tip: This process utilizes thermal equilibrium. By bringing the meat closer to room temperature, you ensure the center cooks evenly with the exterior, preventing a gray, overcooked outer ring.
2. The Maillard Sear
Heat your heavy-bottomed skillet until the oil shimmers. Place the beef in the pan, ensuring you do not overcrowd it. Overcrowding drops the pan temperature and leads to steaming rather than searing. Leave it undisturbed until a deep brown crust forms.
Pro Tip: This is the Maillard reaction, a chemical reaction between amino acids and reducing sugars. It creates hundreds of different flavor compounds that give the beef its characteristic "roasted" taste.
3. Aromatics and Deglazing
Remove the beef and add your onions and garlic. Use a wooden spoon to scrape the bottom of the pan. Once the onions are translucent, pour in a splash of liquid (stock or wine) to deglaze.
Pro Tip: Deglazing captures the fond, the concentrated essence of the meat. The liquid acts as a solvent, dissolving the caramelized proteins and incorporating them back into your sauce for maximum umami.
4. Infusing the Green Chiles
Add your roasted, chopped green chiles to the pan. If using fresh peppers, ensure they have been charred and peeled to remove the indigestible waxy skin. Stir them into the aromatics to allow the oils to infuse the base.
Pro Tip: Capsaicin is fat-soluble. By sautéing the chiles in the rendered beef fat, you distribute the heat more evenly throughout the entire dish rather than having "hot spots."
5. The Low and Slow Braise
Return the beef to the pot and add enough liquid to cover it halfway. Lower the heat to a gentle simmer. Cover with a tight-fitting lid to trap steam and maintain a constant internal environment.
Pro Tip: During a long braise, collagen (tough connective tissue) breaks down into gelatin. This transformation is what turns a tough cut of meat into something that melts in your mouth.
6. Emulsifying the Sauce
Once the beef is tender, remove the lid and increase the heat slightly. If the sauce is too thin, whisk in a small amount of cold butter or a cornstarch slurry to achieve a viscous consistency.
Pro Tip: Adding cold butter at the end is a technique called monter au beurre. The fat molecules suspend in the liquid, creating a silky, stable emulsion that coats the back of a spoon.
7. The Acid Hit
Just before serving, use a microplane to zest a lime over the dish or add a teaspoon of vinegar. This final addition of acidity cuts through the richness of the fat and brightens the earthy notes of the chile.
Pro Tip: Acidity acts as a flavor enhancer by stimulating salivary glands, which helps transport flavor molecules to your taste buds more effectively.
8. Resting and Carving
Transfer the beef to a cutting board. If it was a large roast, let it sit for 15 minutes. If it is a stew, let it sit off the heat for 10 minutes to allow the flavors to marry.
Pro Tip: Resting prevents myoglobin (the red juice) from rushing out of the meat. This ensures the moisture stays inside the fibers where it belongs.
9. Garnishing for Texture
Top your dish with fresh elements like sliced radishes, pickled onions, or a dollop of Mexican crema. These additions provide a textural contrast to the soft, braised beef.
Pro Tip: Sensory perception is heightened by variety. The crunch of a radish provides a mechanical contrast that makes the softness of the beef feel even more luxurious.
The Deep Dive
From a nutritional standpoint, green chile beef recipes are powerhouses of protein and Vitamin C. A standard serving provides roughly 35 grams of protein and significant doses of iron and B12. If you are following a Keto lifestyle, this dish is naturally low-carb; just avoid adding flour-based thickeners. For a Vegan swap, use king oyster mushrooms or seitan, which mimic the fibrous texture of beef. To keep it Gluten-Free, ensure your beef stock is certified and use arrowroot powder for thickening.
The Fix-It:
- Too Salty? Drop in a peeled, halved potato. It acts as a molecular sponge, absorbing excess sodium as it simmers.
- Too Spicy? Incorporate a dairy element like sour cream or heavy cream. The protein casein binds to capsaicin and washes it away from your pain receptors.
- Meat is Tough? You likely didn't cook it long enough. Collagen breakdown is a function of time and temperature. Put the lid back on and give it another 30 minutes.
Meal Prep Science:
These recipes actually taste better on day two. This is because the aromatic compounds continue to diffuse through the fats and liquids even after the heat is removed. When reheating, do so gently on the stovetop with a splash of water to prevent the fats from separating and becoming oily.
The Wrap-Up
Mastering green chile beef recipes is like unlocking a secret level of culinary confidence. You have learned how to manage heat, manipulate proteins, and balance complex flavors using scientific principles. Whether you are serving this at a rowdy Sunday football gathering or a quiet weeknight dinner, the result is always the same: pure, unadulterated comfort. Go forth, use your tongs with pride, and remember that the best ingredient in any kitchen is a curious mind.
The Kitchen Table
Can I use frozen green chiles?
Yes, frozen chiles retain their cellular structure and flavor better than canned versions. Thaw them completely and pat dry before adding to the pan to prevent excess moisture from lowering the cooking temperature and ruining your sear.
Why is my beef gray instead of brown?
Gray meat occurs when the pan temperature is too low or the meat is too wet. This causes the beef to steam in its own juices rather than undergo the Maillard reaction. Always pat meat dry and use high heat.
What is the best cut for slow cooking?
Chuck roast is the superior choice for green chile beef recipes. It contains high amounts of collagen and fat, which break down over time to create a tender texture and a rich, flavorful sauce that leaner cuts cannot match.
How do I make the dish less oily?
If the sauce looks greasy, use a wide spoon to skim the rendered fat from the surface. Alternatively, refrigerate the dish overnight; the fat will solidify at the top, making it easy to lift off and discard before reheating.