

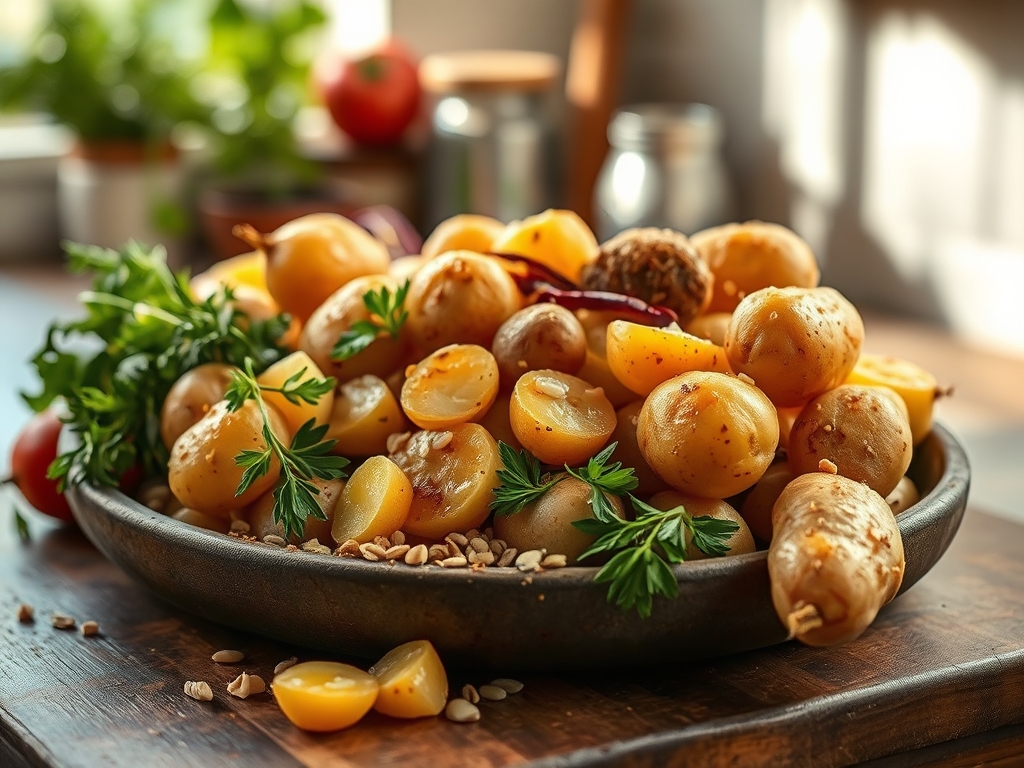
Imagine a kitchen filled with the scent of toasted butter and earthy minerals; it is a fragrance that signals the arrival of the ultimate comfort food. When you are hunting for the best yukon gold potato recipes, you are not just looking for a side dish; you are seeking a masterclass in texture. Yukon Golds are the crown jewels of the root vegetable world because they occupy the perfect middle ground between starchy and waxy. They possess a natural creaminess that mimics dairy even before you add a drop of cream. To achieve that professional, velvet-like finish, we have to look past the surface and dive into the molecular structure of the tuber. We are talking about starch gelatinization and the delicate balance of moisture retention. Whether you are aiming for a shatteringly crisp exterior or a puree so smooth it defies gravity, the secret lies in how you manipulate these golden gems. Let us turn your kitchen into a high-end bistro where the humble potato is the undisputed star of the show.
The Gathers:
To begin our culinary experiment, your mise-en-place must be precise. Start with five pounds of medium-sized Yukon Gold potatoes. Look for skins that are smooth and taut; any shriveling indicates a loss of turgor pressure, which leads to a mealy texture. You will need high-quality fats to complement the potato's natural buttery notes. Reach for unsalted European-style butter, which has a higher butterfat content and lower water percentage than standard sticks. This ensures your emulsions remain viscous rather than watery.
Gather your aromatics: fresh rosemary sprigs, a whole head of garlic to be roasted into a piquant paste, and Maldon sea salt for that essential structural crunch. For the liquid component, heavy cream and a splash of buttermilk provide the necessary acidity to brighten the starch.
Smart Substitutions: If you are leaning into plant-based territory, swap the butter for a high-quality extra virgin olive oil or a cashew-based cream. The goal is to maintain the fat-to-starch ratio. If you lack buttermilk, a squeeze of lemon juice in whole milk creates a similar chemical reaction, helping to break down pectin and soften the potato cell walls more efficiently.
The Clock
Efficiency in the kitchen is all about the Chef's Flow. Expect a total prep time of 20 minutes and a cook time of approximately 45 minutes. The "flow" involves multitasking during the thermal windows. While your potatoes are undergoing their initial simmer, you should be using a saucier to infuse your cream with aromatics. This prevents the "dead time" often found in amateur cooking. By the time the potatoes reach the perfect state of tenderness, your flavor base is already concentrated and ready for integration. This synchronized timing ensures that the potatoes never sit long enough to develop a gummy, oxidized surface.
The Masterclass
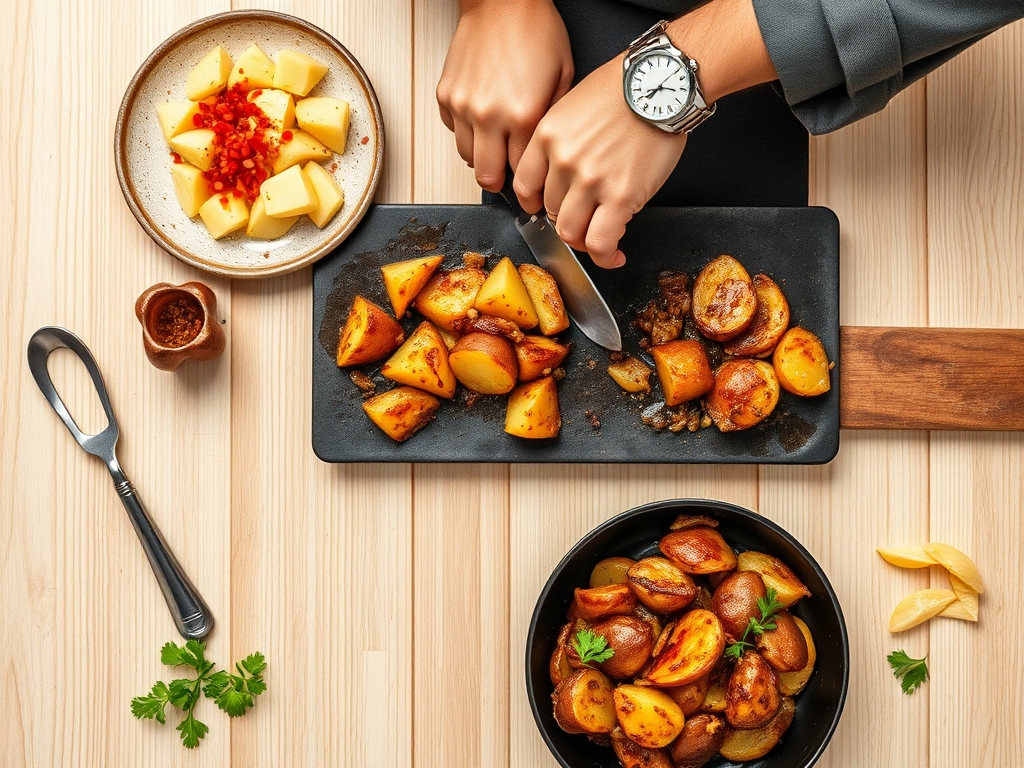
1. The Precision Cut and Cold Start
Use a sharp chef's knife or a bench scraper to portion your potatoes into uniform two-inch cubes. Place them in a heavy-bottomed skillet or pot and cover with cold, heavily salted water. Starting with cold water ensures the interior and exterior cook at the same rate, preventing the outside from turning to mush before the center is soft.
Pro Tip: This technique prevents enzymatic browning. By submerging the cut surfaces immediately in water, you block oxygen from reacting with polyphenol oxidase, keeping the flesh a vibrant, sunny yellow.
2. The Controlled Simmer
Bring the water to a gentle boil, then immediately reduce to a simmer. You are looking for "lazy bubbles." Boiling too vigorously can cause the delicate starch granules to rupture prematurely, leading to a gluey finished product. Cook until a paring knife slides in with zero resistance.
Pro Tip: Salt the water until it tastes like the sea. This is your only chance to season the potato from the inside out through osmosis, where salt ions migrate into the cellular structure.
3. The Steam Dry Phase
Once drained, return the potatoes to the hot pot for sixty seconds. Shake them vigorously over low heat. You will see steam billowing out; this is essential moisture leaving the building.
Pro Tip: This process is known as dehydration for absorption. By removing excess water, you create "room" within the starch cells to soak up the infused fats and cream you are about to add.
4. The Ricer Revolution
Never use a hand mixer or a food processor. Instead, pass the hot potatoes through a potato ricer or a food mill into a warm bowl. This tool aerates the potatoes, separating the grains without shearing the starch molecules.
Pro Tip: Shearing starch molecules with high-speed blades releases amylose, which creates a sticky, wallpaper-paste texture. A ricer keeps the structure fluffy and light.
5. The Fat Emulsion
Incorporate your chilled, cubed butter one piece at a time. Use a silicone spatula to fold the fat into the warm starch. The goal is to create a stable emulsion where the fat coats each individual starch grain.
Pro Tip: This is the science of lipid coating. By adding fat before liquid, you create a waterproof barrier around the starch, which prevents the cream from making the dish heavy or soggy.
6. The Aromatic Infusion
Slowly stream in your warm, strained cream. Use a microplane to grate a hint of fresh nutmeg directly into the mix. The nutmeg contains compounds that highlight the earthy sweetness of the Yukon Gold.
Pro Tip: Warm liquids integrate more easily than cold ones. Adding cold cream would cause the butter to seize, resulting in a broken, oily mess instead of a smooth puree.
7. The Final Fold and Finish
Use a digital scale to ensure your final seasoning is precise. Fold in chopped chives or parsley at the very last second to maintain their bright color and volatile oils.
Pro Tip: Account for thermal carryover. The potatoes will continue to thicken as they sit. If they look perfectly thick in the pot, add one more splash of cream; they will firm up to the ideal consistency by the time they hit the plate.
The Deep Dive
From a macro nutrition perspective, Yukon Golds are a powerhouse. They are naturally fat-free and provide a significant dose of Vitamin C and potassium. One medium potato contains about 150 calories and 4 grams of protein.
Dietary Swaps: For a Keto-friendly version, you can blend cauliflower with the potatoes in a 50/50 ratio to lower the glycemic load while keeping the "best yukon gold potato recipes" flavor profile. For a Gluten-Free guarantee, ensure your thickening agents (if using any for sauces) are cornstarch or arrowroot based.
The Fix-It:
- Gummy Texture: You over-worked the starch. Fix it by spreading the potatoes in a baking dish, topping with cheese, and turning it into a gratin.
- Too Salty: Add a splash of acid (vinegar or lemon) or more unsalted butter to mask the sodium.
- Lumpy Result: Pass the entire mixture through a fine-mesh chinois. It is extra work, but it guarantees a silk finish.
Meal Prep: To reheat and maintain "day-one" quality, avoid the microwave. Place the potatoes in a small pot with a tablespoon of milk. Heat over low, whisking constantly to re-emulsify the fats. This prevents the oil from separating and keeps the texture velvety.
The Wrap-Up
Mastering the Yukon Gold is a rite of passage for any home chef. By respecting the science of the starch and utilizing professional tools like the ricer and the saucier, you elevate a simple root vegetable into a culinary masterpiece. Remember, the best yukon gold potato recipes aren't just about the ingredients; they are about the technique and the love you fold into every buttery swirl. Now, go forth and dominate your next dinner party with the fluffiest, most decadent potatoes your friends have ever tasted!
The Kitchen Table
Which potato is best for mashing?
Yukon Golds are the superior choice for mashing. Their medium-starch content provides a creamy, naturally buttery texture that holds up better than waxy reds but is smoother and more flavorful than starchy Russets.
Should I peel Yukon Golds before boiling?
For the smoothest professional puree, peeling is recommended. However, Yukon Gold skins are thin and tender; leaving them on adds rustic texture and retains more nutrients if you prefer a "smushed" style potato.
How do I stop my potatoes from being gluey?
Avoid using a food processor or blender. These high-speed blades rupture starch cells and release amylose. Use a hand ricer or food mill to gently separate the potato without turning the starch into a sticky paste.
Can I make Yukon Gold potatoes ahead of time?
Yes. Prepare them fully, then store in an airtight container. Reheat slowly on the stovetop with a splash of extra cream or milk to restore the silky emulsion and prevent the fats from separating.