
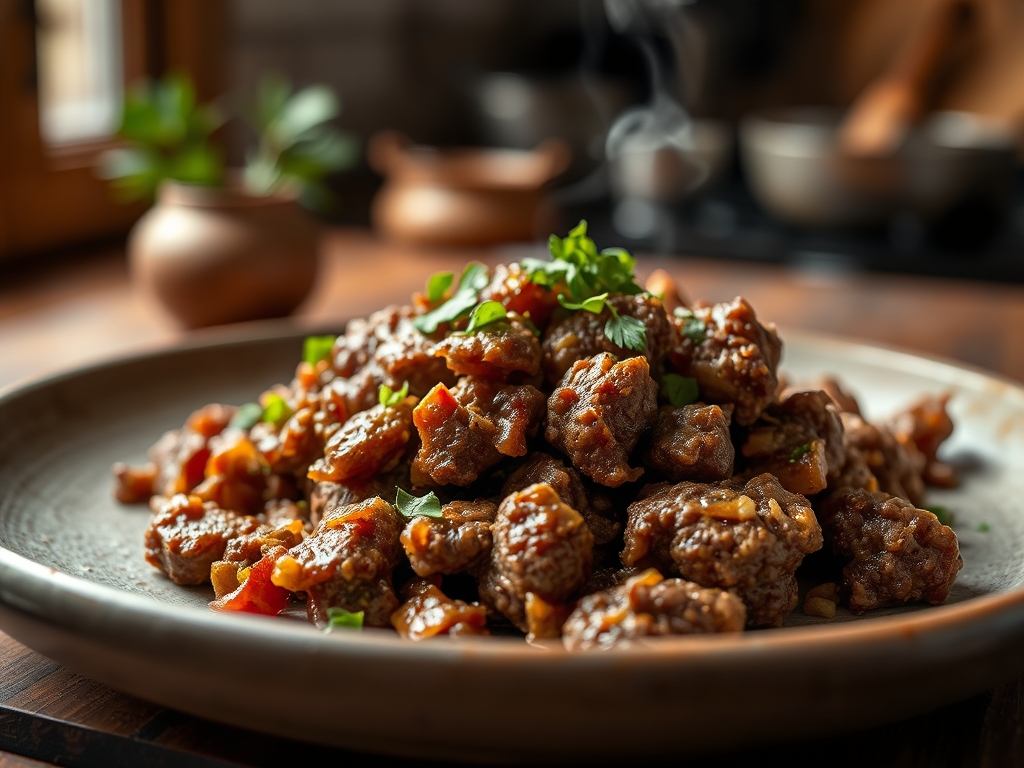
Picture this: the kitchen is thick with the scent of rendering fat and toasted aromatics. You are standing over a heavy bottomed skillet; the sizzle of the sear is a rhythmic heartbeat. We have all been there, staring at a child who treats a green pea like a personal affront. Finding ground beef recipes for picky eaters is not just about dinner; it is about survival. It is about transforming a humble pound of protein into a masterpiece of texture and flavor that bypasses the "no" and goes straight to the "more please."
The secret lies in the Maillard reaction. This chemical dance between amino acids and reducing sugars creates that deep, savory crust that even the most stubborn toddler finds irresistible. By mastering the science of browning and the art of the "hidden" nutrient, we can turn standard weeknight fare into a culinary triumph. Whether it is a silky bolognese that hides a garden of pureed vegetables or a burger patty so juicy it defies physics, the goal is total table harmony. We are going to use professional techniques to ensure every bite is tender, flavorful, and, most importantly, consumed without a single complaint.
The Gathers:
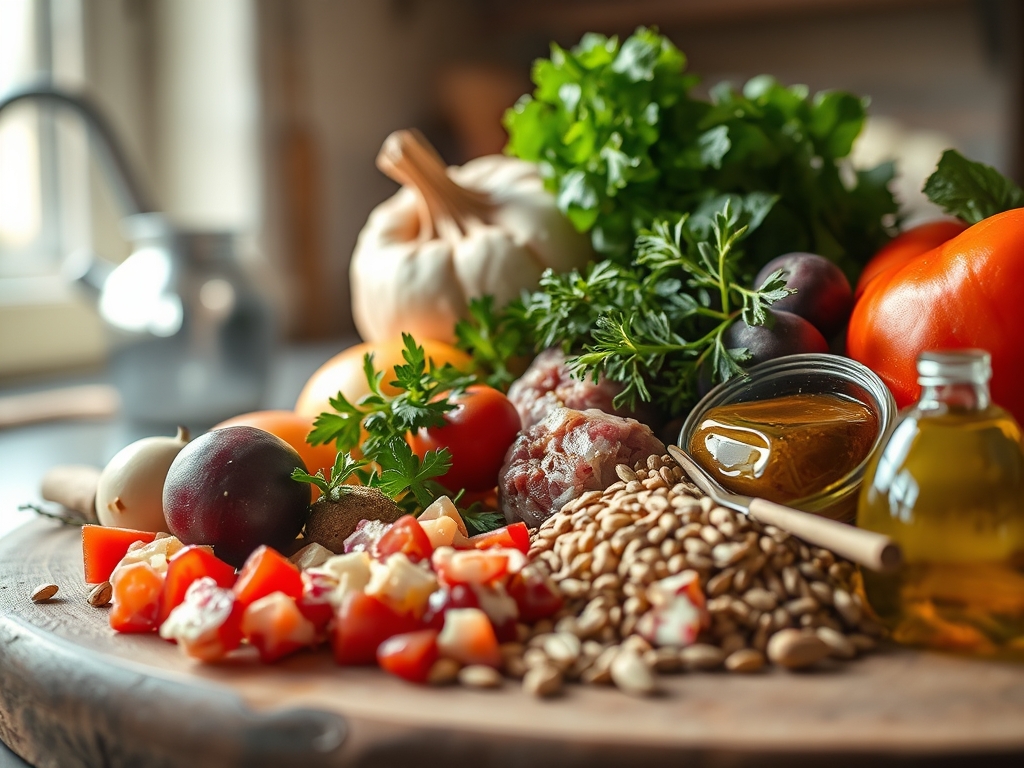
Before we ignite the burners, we must assemble our mise en place with precision. Use a digital scale to ensure your beef portions are consistent; this prevents uneven cooking and ensures a predictable texture. You will need high quality ground beef, preferably an 80/20 blend. The twenty percent fat content is non-negotiable for picky eaters because fat carries flavor and provides the lubrication necessary to prevent a dry, "mealy" mouthfeel.
Gather your aromatics: yellow onions, garlic cloves, and perhaps a few carrots. Use a microplane to grate these into a fine paste. This is a "Smart Substitution" for chopping; the grated vegetables melt into the sauce, providing moisture and vitamins without the "chunks" that trigger picky eater alarms. You will also need a viscous binder like heavy cream or whole milk, which helps to emulsify the fats and proteins. Keep a bench scraper handy to organize your prep area and a saucier for any liquid reductions. High quality sea salt and freshly cracked black pepper are your primary tools for seasoning, but do not forget a splash of Worcestershire sauce to provide a piquant hit of umami that rounds out the beefiness.
The Clock:
Efficiency in the kitchen is about "Chef's Flow." This is the sequence of operations that minimizes downtime and maximizes flavor development. For these nine meals, expect a preparation time of twenty minutes and a cooking time of thirty minutes. The total "active" time is where the magic happens.
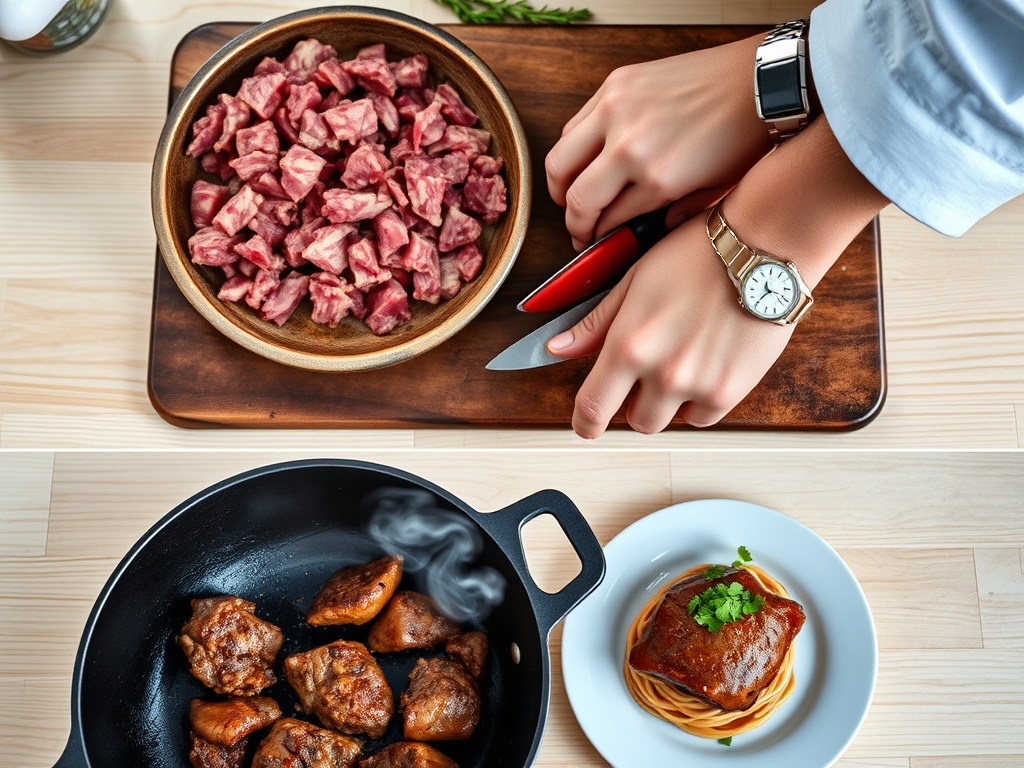
Start by tempering your meat; let it sit at room temperature for fifteen minutes. Cold meat hits a hot pan and drops the temperature instantly, leading to steaming rather than searing. While the meat tempers, perform your knife work. Once the skillet is hot, the process moves quickly. You are looking for a total cycle of fifty minutes from fridge to table. This includes a five minute resting period for the meat, which allows the muscle fibers to relax and reabsorb juices, ensuring a tender result.
The Masterclass:
1. The Perfect Sear
Place your heavy bottomed skillet over medium high heat until a drop of water dances and evaporates instantly. Add the beef in a single layer. Do not crowd the pan; crowding creates steam, which results in gray, rubbery meat.
Pro Tip: This stage relies on enzymatic browning. By leaving the meat undisturbed for three minutes, you allow the surface to reach temperatures above 285 degrees Fahrenheit, creating a complex flavor profile that cannot be achieved through boiling or steaming.
2. Deglazing the Fond
Once the meat is browned and removed, you will see brown bits stuck to the bottom of the pan. This is called the fond. Pour in a small amount of beef stock or water and use a wooden spoon to scrape these bits up.
Pro Tip: Deglazing is a method of solvent extraction. The liquid dissolves the concentrated proteins and sugars, incorporating them back into your sauce for a deeper, more professional flavor profile that appeals to the "savory" receptors on the tongue.
3. Emulsifying the Sauce
If you are making a creamy beef pasta or Swedish meatballs, add your fats (butter or cream) slowly while whisking vigorously. You are looking for a glossy, unified liquid that coats the back of a spoon.
Pro Tip: This creates a stable emulsion. By suspending fat droplets within a water based liquid, you create a silky texture that coats the palate, masking the graininess of the beef and making it more palatable for sensory sensitive eaters.
4. Thermal Carryover and Resting
Remove your beef from the heat when it is just a few degrees below your target temperature. Transfer it to a warm plate and tent it loosely with foil.
Pro Tip: Thermal carryover means the internal temperature will continue to rise by five to ten degrees after removal from the heat. Resting allows the internal pressure to equalize, preventing the juices from rushing out when the first bite is taken.
The Deep Dive:
When we look at the macro nutrition of these ground beef recipes for picky eaters, we are focusing on high quality protein and essential minerals like zinc and iron. A standard four ounce serving provides roughly 28 grams of protein. For those with dietary restrictions, these meals are highly adaptable.
Dietary Swaps: For a Keto version, swap traditional pasta for zoodles or spaghetti squash and ensure your binders are flour free. For a Gluten Free (GF) approach, use tamari instead of Worcestershire and certified GF breadcrumbs or almond meal. If you need a Vegan alternative, high quality plant based crumbles can be treated with the same searing techniques, though you may need to add a touch of coconut oil to mimic the animal fat's mouthfeel.
The Fix-It:
- Greasy Result: If the dish feels too oily, use a bulb baster to remove excess rendered fat before adding liquids.
- Tough Meat: This usually means the beef was overcooked or worked too much. Next time, mix your ingredients gently with cold hands to avoid melting the fat before it hits the pan.
- Bland Flavor: You likely under seasoned during the browning phase. Add a teaspoon of tomato paste to the center of the pan and let it darken; this "pinçage" technique adds instant depth.
Meal Prep Science: To maintain "day-one" quality, reheat beef dishes gently. Use a low power setting on the microwave or a covered pan on the stove with a tablespoon of water. This creates a steam chamber that prevents the proteins from tightening and becoming "rubbery" through secondary cooking.
The Wrap-Up:
Feeding picky eaters does not have to be a battle of wills. By focusing on the molecular transformation of the beef and using professional tools like the microplane and heavy bottomed skillet, you are elevating a simple ingredient into a culinary experience. These nine meals are designed to bridge the gap between "kid food" and "chef food." Remember, the goal is consistency and comfort. When you master the sear, the emulsion, and the rest, you are not just making dinner; you are building a foundation for a lifetime of adventurous eating. Now, grab your tongs and get to work!
The Kitchen Table:
How do I make ground beef less "grainy" for kids?
Use a "panade," which is a mixture of breadcrumbs and milk. This paste coats the meat fibers, preventing them from bunching up into hard grains during the cooking process, resulting in a much softer, silkier texture.
What is the best way to hide vegetables in beef?
Use a microplane or food processor to turn carrots, zucchini, or onions into a fine pulp. Sauté this pulp with the beef; it will release moisture and eventually melt into the sauce, becoming invisible to the naked eye.
Why does my ground beef turn gray instead of brown?
Gray meat is caused by overcrowding the pan or using meat straight from the fridge. Excess moisture creates steam. Cook in smaller batches and ensure the skillet is screaming hot to trigger the Maillard reaction properly.
Can I freeze these beef meals for later?
Yes. Ground beef dishes freeze exceptionally well because the fat content protects the protein from freezer burn. Store in airtight containers with minimal headspace to prevent oxidation and maintain the original flavor profile for up to three months.