
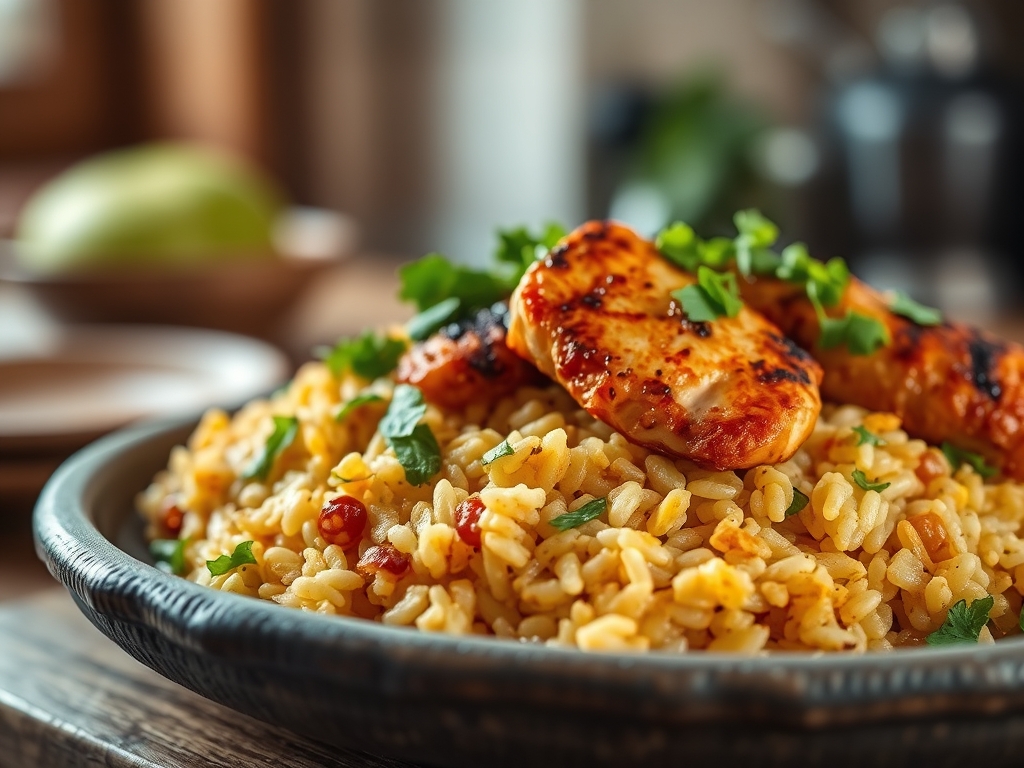
Imagine the scent of toasted cumin and searing poultry fat hitting a hot skillet. It is the ultimate comfort signal. When you are hunting for the best mexican rice and chicken recipes, you are actually looking for a masterclass in texture and heat. This is more than a meal; it is a chemical transformation of humble grains into gold.
The secret to a truly transcendent Arroz con Pollo lies in the relationship between the starch and the fat. We are not just boiling rice. We are engineering a dish where every grain is separate, fluffy, and saturated with a piquant tomato base. Whether you are a seasoned home cook or a weekend warrior, mastering this one-pot wonder will change your kitchen repertoire forever. We are going to dive into the Maillard reaction, the physics of steam, and the art of the perfect sear. Grab your favorite heavy-bottomed skillet and let us get to work.
The Gathers:
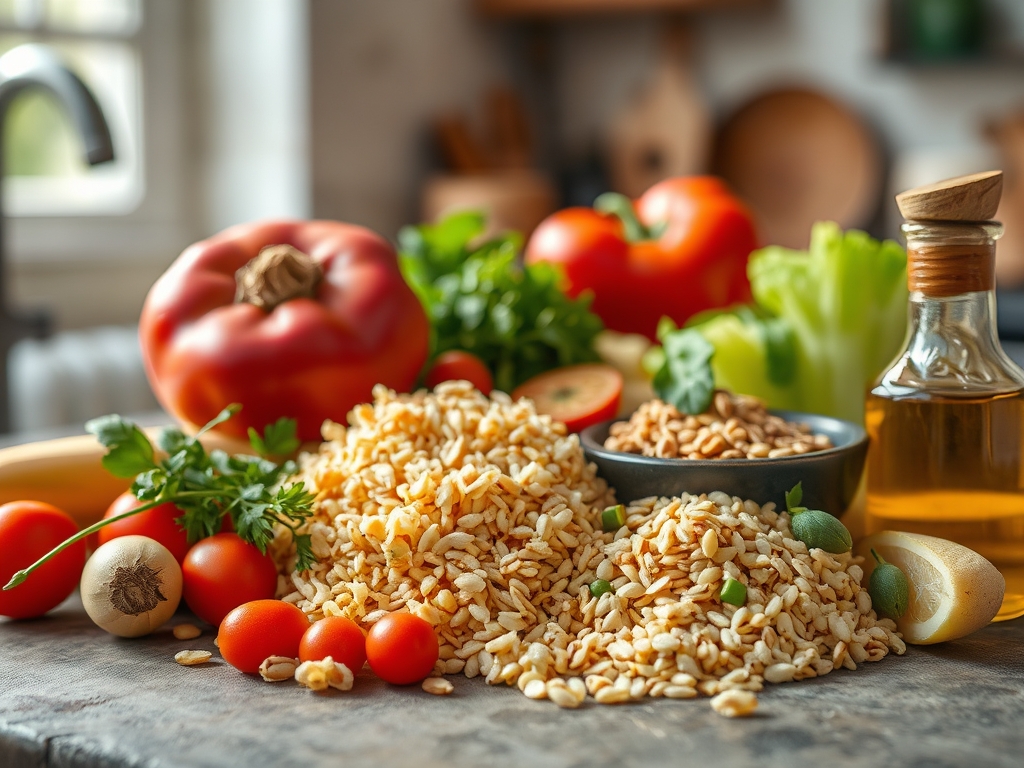
To achieve professional results, your mise-en-place must be precise. Start with high-quality chicken thighs; the higher fat content ensures the meat remains succulent during the rice's long hydration cycle. You will need long-grain white rice, specifically chosen for its high amylose content, which prevents the grains from becoming a gummy mass.
Your aromatics are the backbone of this dish. Gather fresh garlic, white onions, and bell peppers. For the liquid gold, use a rich chicken bone broth rather than water to increase the viscous mouthfeel. You will also need tomato paste to provide umami depth and acidity. Use a microplane to zest fresh lime and grate your garlic into a fine paste. This increases the surface area, allowing the flavors to infuse the oil instantly without burning.
Smart Substitutions:
If you are looking to lighten the profile, swap the white rice for cauliflower rice, though you must reduce the liquid by eighty percent to avoid a soggy mess. For a smoky profile, replace standard paprika with pimenton (smoked Spanish paprika). If you lack a fresh jalapeno, a teaspoon of chipotle in adobo adds a fermented, earthy heat that elevates the entire profile.
The Clock:
Efficiency in the kitchen is about "Chef's Flow." This is the practice of overlapping tasks so no heat is wasted.
Prep Time: 15 Minutes. This includes your knife work (dicing the onions and peppers) and measuring your spices using a digital scale for total consistency.
Cook Time: 35 Minutes. This accounts for the searing of the protein, the toasting of the grains, and the crucial twenty-minute simmer.
Rest Time: 10 Minutes. Never skip this. Resting allows the steam to redistribute, ensuring the rice at the bottom of the pan is just as tender as the rice at the top.

The Masterclass:
1. The Sear and Render
Season your chicken liberally with kosher salt. Heat two tablespoons of neutral oil in a heavy-bottomed skillet until it reaches the smoke point. Place the chicken skin-side down. Use tongs to press the meat against the metal, ensuring maximum contact.
Pro Tip: This stage triggers the Maillard reaction, a chemical reaction between amino acids and reducing sugars that creates hundreds of different flavor compounds. Do not move the chicken until it releases naturally from the pan.
2. Sauté the Aromatics
Remove the chicken (it will not be fully cooked yet) and drop in your diced onions and peppers. Use a wooden spoon or bench scraper to lift the "fond" (the brown bits) from the bottom of the pan.
Pro Tip: This is called deglazing. The moisture from the vegetables dissolves the caramelized protein bits, incorporating that intense savory flavor directly into your base.
3. Toast the Grains
Add your dry rice directly into the fat remaining in the pan. Stir constantly for three minutes until the grains turn an opaque, nutty brown.
Pro Tip: Toasting the rice creates a protective layer of dextrinization. This prevents the starch from leaching out too quickly, which is the secret to getting those distinct, non-clumpy grains seen in the best mexican rice and chicken recipes.
4. The Liquid Integration
Stir in your tomato paste and spices, then pour in your warm broth. Return the chicken to the pan, nestling it into the rice. Bring to a boil, then immediately drop the heat to the lowest setting and cover with a tight-fitting lid.
Pro Tip: Using warm broth prevents a "thermal shock" that can toughen the chicken fibers. A consistent temperature ensures the rice hydrates evenly from the core to the surface.
5. The Final Rest
Once the liquid is fully absorbed, turn off the heat. Keep the lid on for ten minutes. Finally, use a fork to aerate the rice by gently lifting and folding it.
Pro Tip: This rest period allows for thermal carryover. The residual heat finishes cooking the center of the chicken without overextending the delicate rice starch.
The Deep Dive:
Macro Nutrition:
A standard serving of this dish provides a balanced ratio of complex carbohydrates, lean protein, and healthy fats. On average, one cup contains 350 calories, 28g of protein, and 42g of carbohydrates. To increase fiber, you can stir in black beans or frozen peas during the final five minutes of simmering.
Dietary Swaps:
For a Vegan version, swap the chicken for extra-firm smoked tofu and use a rich vegetable bouillon. For Keto enthusiasts, replace the rice with riced broccoli and increase the healthy fats by adding avocado slices at the end. This recipe is naturally Gluten-Free as long as your chicken broth is certified GF.
The Fix-It:
- Mushy Rice: This usually happens from over-stirring or too much liquid. If it is too wet, remove the lid and cook on medium-high for two minutes to evaporate excess moisture.
- Burnt Bottom: If you smell burning before the rice is soft, your heat is too high. Move the skillet to a cool burner and add a splash of water without stirring. The steam will help loosen the grains.
- Bland Flavor: You likely under-salted the rice. Salt is a flavor enhancer; add a squeeze of lime juice. The acid mimics the effect of salt by brightening the existing spice profile.
Meal Prep:
When reheating, rice often becomes brittle due to starch retrogradation. To restore "day-one" quality, add a teaspoon of water per cup of rice and cover it tightly before microwaving. This creates a mini-steam chamber that re-hydrates the grain.
The Wrap-Up:
You have officially graduated from basic cooking to culinary engineering. By understanding the science of toasting grains and the importance of the Maillard reaction, you have unlocked the secret to the most vibrant mexican rice and chicken recipes on the planet. This dish is a testament to how simple ingredients, treated with technical respect, can create a symphony of flavor. Now, grab your fork, garnish with a little fresh cilantro, and enjoy the fruits of your scientific labor.
The Kitchen Table:
Why is my Mexican rice always mushy?
Mushy rice is caused by skipping the toasting phase. Frying the dry rice in oil creates a starch barrier. This prevents the grains from bursting and sticking together, ensuring a fluffy, separate texture every time you cook.
Can I use chicken breast instead of thighs?
You can, but breasts dry out faster. If using breasts, sear them quickly and remove them. Add them back to the rice only during the last eight minutes of simmering to prevent the protein fibers from becoming tough and stringy.
What is the best rice to use?
Long-grain white rice or Basmati is best. These varieties have a high amylose content. High-amylose rice stays firm and distinct when cooked, whereas short-grain rice is high in amylopectin, which creates a sticky, risotto-like consistency.
How do I get that bright red color?
The vibrant color comes from a combination of tomato paste and sazon seasoning or turmeric. Sautéing the tomato paste in oil before adding the liquid "blooms" the Lycopene, resulting in a deeper, more professional orange-red hue.