

Picture a kitchen filled with the sharp, electric scent of roasted Anaheim peppers and the sizzle of fat rendering in a heavy bottomed skillet. This is the heart of green chili chicken recipes; a world where piquant heat meets the comforting richness of poultry. Whether you are craving a velvety stew or a charred street taco, these vibrant, emerald hued dishes deliver a complex flavor profile that balances acidity with earthy undertones. We are moving beyond basic heat to explore the deep, nuanced layers of the Southwest.
The magic of these recipes lies in the chemical transformation of the chili itself. When we char the skin, we are not just adding color; we are triggering the Maillard reaction to unlock sugars within the pepper flesh. This creates a smoky base that elevates simple chicken into something transcendent. In the next few minutes, we will break down the mechanics of the perfect simmer and the science of the sear to ensure your kitchen smells like a high end Santa Fe bistro.
The Gathers:
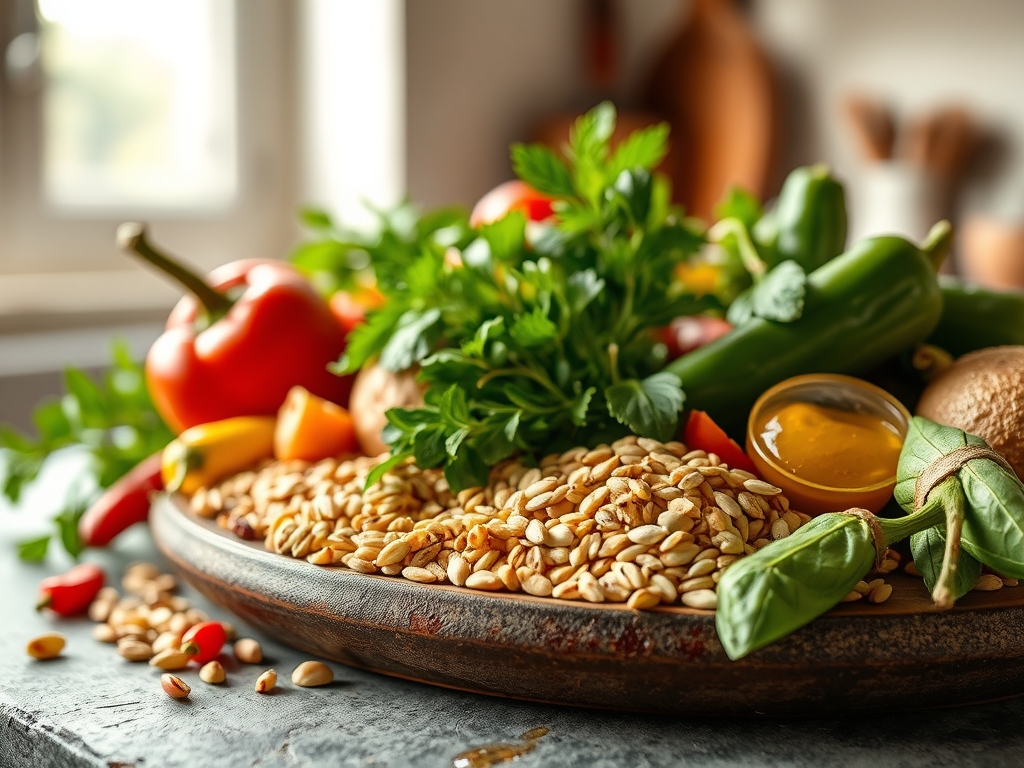
Setting up your mise en place is more than just organization; it is about controlling the chemical variables of your meal. For the ultimate green chili chicken recipes, you need high quality proteins and aromatics. Start with five pounds of bone-in, skin-on chicken thighs. The bone acts as a thermal conductor, ensuring even heat distribution, while the skin provides the lipids necessary to emulsify your sauce.
Your vegetable tray should feature a curated mix of Hatch, Anaheim, and Poblano peppers. Hatch chilies provide the signature bite, while Poblanos offer a deep, viscous texture when blended. You will also need a head of garlic, three large white onions, and a bunch of cilantro. Do not forget your dry goods: ground cumin, dried Mexican oregano, and high quality sea salt. Use a digital scale to measure your spices; precision here prevents the earthy cumin from overpowering the delicate floral notes of the peppers.
Smart Substitutions:
If you cannot find fresh Hatch chilies, high quality canned roasted peppers are a viable alternative, though you should drain them thoroughly to avoid excess water content. For a lighter version, swap the chicken thighs for breasts, but be prepared to pull them from the heat five degrees earlier to prevent protein denaturation. If you are avoiding nightshades, a blend of roasted tomatillos and herbaceous oils can mimic the visual profile, though the flavor will lean more acidic than spicy.
The Clock
Efficiency in the kitchen is about mastering the Chef's Flow. For these recipes, expect a 30 minute preparation window followed by a 45 to 60 minute active cook time. The preparation involves the "heavy lifting" of dicing and charring, while the cook time is where the infusion happens.
The Chef's Flow dictates that you should start by roasting your peppers under a broiler or over an open flame first. While they steam in a covered bowl to loosen their skins, you can use your bench scraper to organize your aromatics. By the time your chicken is seared and the pan is ready to be deglazed, your peppers will be peeled and ready for the blender. This staggered approach ensures no burner is ever empty and no ingredient sits long enough to lose its enzymatic integrity.

The Masterclass
1. The Char and Steam
Place your whole peppers on a baking sheet and broil until the skin is blistered and blackened. Immediately transfer them to a glass bowl and cover tightly with plastic wrap. This creates a localized steam environment that separates the tough outer cuticle from the tender flesh.
Pro Tip: This process is known as physical exfoliation of the vegetable. The steam weakens the pectin bonds between the skin and the meat of the pepper, making it easy to peel without losing the essential oils trapped just beneath the surface.
2. The Protein Sear
Pat your chicken dry with paper towels to remove surface moisture. Heat a heavy bottomed skillet over medium high heat and add a high smoke point oil. Sear the chicken skin side down until deep golden brown. Use tongs to flip and brown the other side briefly.
Pro Tip: Removing surface moisture is critical for the Maillard reaction. If the chicken is wet, the energy from the pan will go toward evaporating water rather than browning the protein, resulting in gray, steamed meat instead of a flavorful crust.
3. The Aromatic Foundation
Remove the chicken and most of the rendered fat, leaving about two tablespoons. Add your diced onions and use a wooden spoon to deglaze the pan, scraping up the brown bits (fond). Sauté until the onions are translucent and have absorbed the chicken essence.
Pro Tip: Deglazing is a chemical extraction process. The flavorful compounds stuck to the bottom of the pan are alcohol and water soluble; by adding onions and their natural moisture, you are reincorporating those concentrated proteins back into the sauce.
4. The Chili Integration
Peel, seed, and dice your steamed peppers. Add them to a blender with a splash of chicken stock and a handful of cilantro. Pulse until you reach your desired consistency; chunky for stews or smooth for enchilada sauces. Pour this mixture into the skillet with the onions.
Pro Tip: Blending the peppers increases the surface area of the vegetable, allowing for a more rapid infusion of capsaicin and flavor into the cooking liquid. This creates a more cohesive and viscous mouthfeel in the final dish.
5. The Low and Slow Simmer
Nestle the seared chicken back into the green chili sauce. Lower the heat to a gentle simmer and cover. Cook until the internal temperature of the chicken reaches 165 degrees Fahrenheit on a digital thermometer.
Pro Tip: Simmering allows for collagen breakdown. In chicken thighs, the connective tissue transforms into gelatin at sustained low temperatures, which adds a luxurious, silky body to the sauce and ensures the meat is fork tender.
6. The Final Brightening
Once the chicken is cooked, stir in a squeeze of fresh lime juice and a sprinkle of cold salt. Taste and adjust. If the sauce is too thin, let it simmer uncovered for five minutes to reduce and concentrate the flavors.
Pro Tip: Acid acts as a flavor catalyst. The citric acid in the lime juice cuts through the heavy fats of the chicken and the earthiness of the chilies, "waking up" the taste buds and highlighting the high notes of the dish.
The Deep Dive
From a nutritional standpoint, green chili chicken recipes are a powerhouse. A standard serving offers approximately 35 grams of protein and is rich in Vitamin C and Vitamin A thanks to the dense pepper base. For those following a Keto lifestyle, this dish is naturally low carb; just ensure you aren't adding flour as a thickener. Vegans can substitute the chicken for roasted cauliflower or oyster mushrooms, using a vegetable stock base and a touch of nutritional yeast for umami.
The Fix-It:
- Too Spicy: If the heat is overwhelming, do not add water. Instead, stir in a dollop of Greek yogurt or sour cream. The casein in dairy binds to capsaicin molecules and washes them away from your pain receptors.
- Bitter Sauce: This usually happens if the garlic was scorched. To fix it, add a tiny pinch of sugar or a splash of heavy cream to round out the harsh edges.
- Thin Liquid: If your sauce looks like soup, use a microplane to grate in a small amount of cold butter or whisk in a slurry of cornstarch and cold water to increase the viscosity.
Meal Prep Science:
Green chili chicken actually tastes better on day two. As the dish cools, the aromatic compounds continue to migrate into the protein. When reheating, use a low heat setting on the stove and add a tablespoon of water to restore the emulsion. Avoid the microwave if possible, as it can cause the chicken fibers to tighten and become rubbery.
The Wrap-Up
Mastering green chili chicken recipes is a rite of passage for any home cook looking to bridge the gap between simple comfort food and technical excellence. By focusing on the science of the sear and the chemistry of the chili, you transform humble ingredients into a vibrant, multi sensory experience. Now, grab your skillet, fire up the broiler, and get ready to serve a meal that is as smart as it is delicious.
The Kitchen Table
Can I use frozen chicken for this recipe?
Yes, but you must thaw it completely in the refrigerator first. Excess ice crystals will release moisture during the sear, preventing the Maillard reaction and resulting in a lackluster, steamed texture rather than a flavorful crust.
How do I make my green chili sauce thicker?
Allow the sauce to simmer uncovered to evaporate excess water. Alternatively, blend a portion of the cooked aromatics and stir them back in, or use a cornstarch slurry for a glossy, thick consistency without changing the flavor profile.
What is the best way to peel roasted peppers?
Steam them in a covered bowl for ten minutes immediately after charring. The trapped moisture loosens the skin. Use a paper towel to gently rub the skins off; this provides friction without bruising the delicate pepper flesh underneath.
How long does green chili chicken last in the fridge?
When stored in an airtight container, it remains fresh for three to four days. The flavors actually deepen over time as the spices continue to infuse. For longer storage, freeze it for up to three months.