
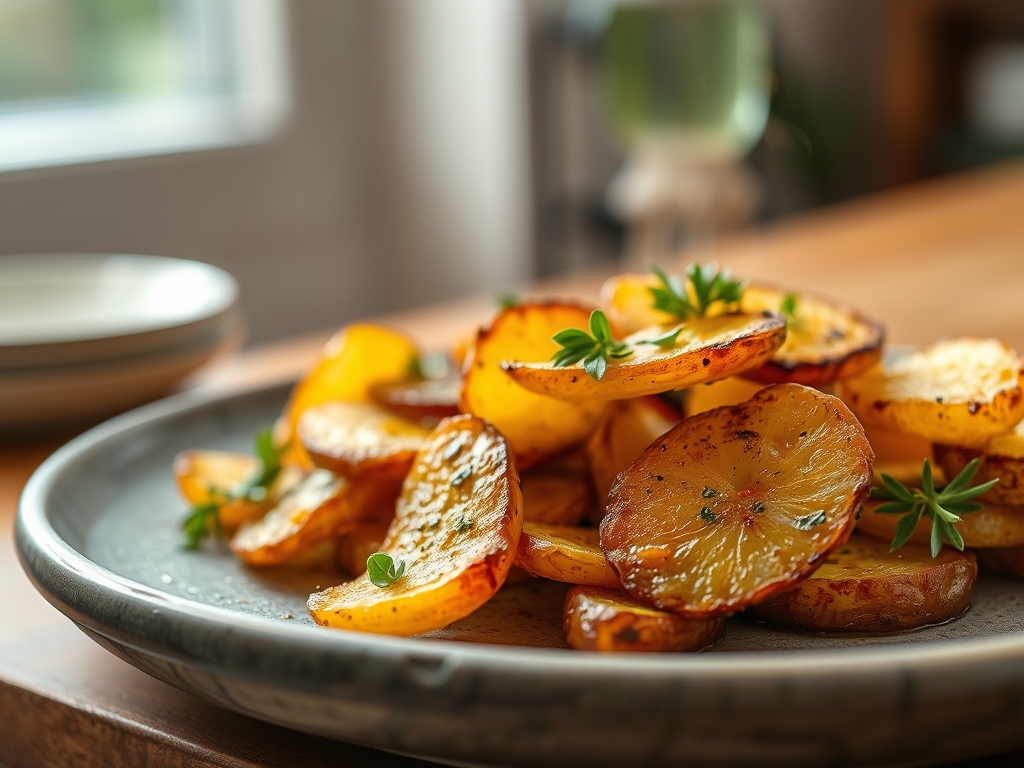
Picture the sound of a heavy-bottomed cast iron skillet meeting a high-flame burner; it is a percussive, metallic ring that signals the start of something glorious. You are chasing that specific, glass-shattering crunch that gives way to a center as fluffy as a cloud. Mastering pan fried potato recipes is not just about heat; it is about controlling the complex dance between moisture and starch. When you get it right, the kitchen fills with the nutty, toasted aroma of the Maillard reaction, a chemical transformation where amino acids and reducing sugars create that golden-brown crust we crave. Most home cooks end up with a soggy, gray mess because they ignore the cellular structure of the tuber. We are going to change that today by treating your kitchen like a laboratory and your palate like a judge. By the time we are done, you will understand exactly how to manipulate heat and surface area to achieve a professional-grade finish that rivals any high-end bistro.
The Gathers:
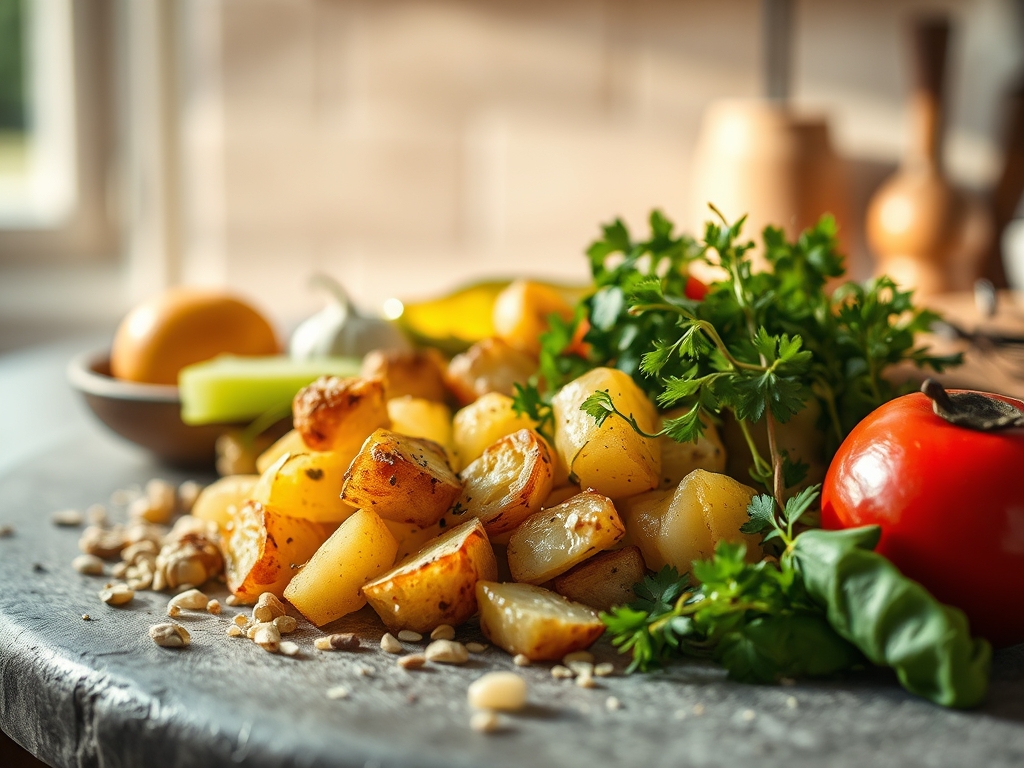
Before we ignite the flame, your mise-en-place must be impeccable. For the best pan fried potato recipes, the choice of tuber is non-negotiable. You need a high-starch variety, specifically the Russet or the Yukon Gold. Russets contain a high volume of amylose starch, which is essential for that dry, crisp exterior. Yukon Golds offer a more viscous, buttery interior due to their medium-starch density. You will also need a fat with a high smoke point. While butter tastes divine, its milk solids burn at 350 degrees Fahrenheit. Instead, reach for clarified butter (ghee), duck fat, or a neutral avocado oil.
Your tool kit is just as vital as your ingredients. Pull out a digital scale to ensure uniform sizing; consistency in mass equals consistency in cook time. You will also need a bench scraper to move your precision-cut cubes without bruising the starch cells and a heavy-bottomed skillet (carbon steel or cast iron) to provide superior thermal mass. For seasoning, use flaky sea salt and fresh aromatics like rosemary or thyme.
Smart Substitutions: If you are avoiding nightshades, firm Japanese sweet potatoes work beautifully, though they require a lower temperature to prevent the higher sugar content from scorching. If you lack duck fat, use beef tallow to render a deep, savory umami profile into the crust.
The Clock
Efficiency in the kitchen is dictated by the "Chef's Flow," a sequence of events that maximizes flavor while respecting the clock. Total active time for this masterpiece is approximately 15 minutes, with a total duration of 45 minutes. The breakdown is as follows: 10 minutes for precision knife work, 10 minutes for the parboil and "roughing" stage, and 20 to 25 minutes for the actual pan-frying.
The secret to professional speed is overlapping tasks. While your water comes to a rolling boil, you should be dicing. While the potatoes undergo their initial steam-dry, you should be prepping your garlic with a microplane and heating your skillet. Never rush the cooling phase after boiling; the evaporation of surface moisture is what allows the fat to create a crisp seal rather than steaming the potato from the outside in.
The Masterclass
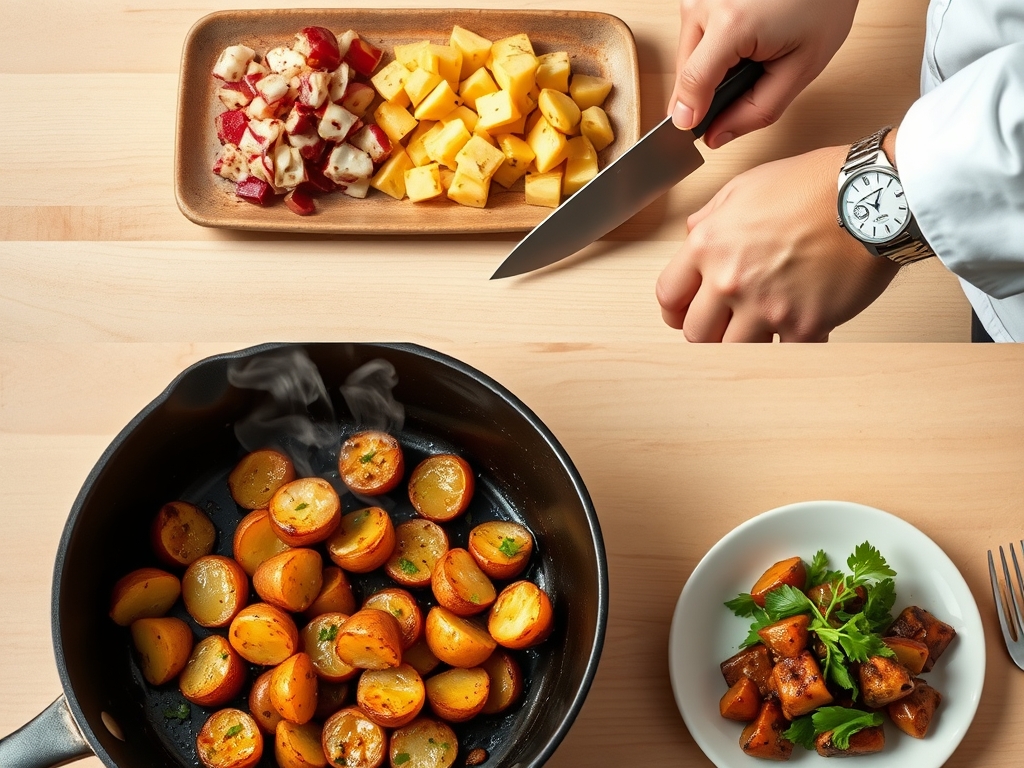
1. The Precision Dice and Soak
Start by peeling your potatoes and dicing them into uniform 3/4-inch cubes. Immediately submerge them in a bowl of cold, salted water. This step is crucial to remove excess surface starch that would otherwise cause the potatoes to stick to the pan and gum up.
Pro Tip: This process is known as leaching. By removing the exterior starch, you prevent the sugars from caramelizing too quickly, which ensures the interior cooks through before the outside turns bitter and burnt.
2. The Alkaline Parboil
Drain the potatoes and place them in a pot of cold water seasoned heavily with salt and a half-teaspoon of baking soda. Bring to a boil and simmer until the edges are just starting to soften but the core remains firm.
Pro Tip: Adding baking soda increases the pH of the water, which breaks down the potato's pectin more effectively. This creates a starchy "slurry" on the surface of the cubes that, once fried, transforms into an incredibly thick and craggy crust.
3. The Steam-Dry and Roughing
Drain the potatoes into a colander and let them sit for three minutes to allow steam to escape. Give the colander a vigorous shake to scuff up the edges of the potatoes. Use a bench scraper to transfer them to a wire rack.
Pro Tip: This is the "surface area" secret. By roughing up the edges, you increase the microscopic peaks and valleys on the potato surface. More surface area means more contact with the hot fat, leading to a superior crunch.
4. The Fat Infusion
Heat your heavy-bottomed skillet over medium-high heat and add your chosen fat. Once the fat is shimmering but not smoking, carefully add the potatoes in a single layer. Do not crowd the pan; if you do, the temperature will drop and the potatoes will boil in their own moisture.
Pro Tip: Using a pan with high thermal mass prevents "thermal shock." When the cold potatoes hit the pan, a heavy skillet retains its heat, immediately searing the exterior and preventing the fat from soaking into the center.
5. The Golden Rotation
Resist the urge to stir. Let the potatoes sit undisturbed for five minutes to develop a deep crust. Use tongs or a metal spatula to flip them individually. Once all sides are golden, add your aromatics like smashed garlic or woody herbs.
Pro Tip: This stage utilizes conduction heating. The direct contact with the metal creates the Maillard reaction. Adding aromatics at the very end prevents the delicate volatile oils in the herbs from oxidizing and turning acrid.
6. The Final Deglaze and Season
In the final sixty seconds, toss in a small knob of cold butter and a splash of sherry vinegar. The butter will foam and infuse the potatoes with a nutty finish, while the acid will deglaze any flavorful browned bits from the pan and stick them to the potatoes.
Pro Tip: This is called "mounting with butter." The milk solids provide a final hit of flavor, while the acidity of the vinegar cuts through the richness, balancing the pH of the dish for a bright, professional finish.
The Deep Dive
When we look at the macro nutrition, a standard serving of these potatoes provides complex carbohydrates for sustained energy, along with a surprising amount of Vitamin C and Potassium. To keep it Vegan, simply stick to high-quality olive oil or avocado oil and skip the butter finish. For a Keto alternative, you can apply these same techniques to radishes or cauliflower florets, though the starch reactions will differ.
The Fix-It: Common Pitfalls
- Soggy Potatoes: This usually happens because the pan was crowded. Fix: Fry in batches or use two skillets.
- Burned Outside, Raw Inside: Your heat was too high. Fix: Lower the flame and add a teaspoon of water to the pan, then cover it for two minutes to use steam to finish the core.
- Sticking to the Pan: You tried to flip too early. Fix: Wait for the potato to naturally "release" from the metal once the crust has formed.
Meal Prep Science: To reheat and maintain "day-one" quality, avoid the microwave at all costs. The microwave agitates water molecules, making the starch granules gummy. Instead, use an air fryer or a hot oven at 400 degrees Fahrenheit for five minutes to re-crisp the exterior fats.
The Wrap-Up
You now hold the chemical keys to the kingdom of pan fried potato recipes. By understanding the role of pH levels, surface area, and thermal mass, you have elevated a humble root vegetable into a culinary masterpiece. Remember, cooking is as much about patience as it is about heat. Don't rush the steam-dry phase, and don't be afraid to let that skillet get hot. Go forth, grab your tongs, and create the crunch of your dreams!
The Kitchen Table
Which potato is best for pan frying?
Russet potatoes are the gold standard for a crunchy exterior due to their high starch content. Yukon Golds are a fantastic runner-up if you prefer a creamier, more buttery interior texture that holds its shape well during flipping.
Why do my pan fried potatoes turn out mushy?
Mushiness is usually caused by overcrowding the pan or failing to dry the potatoes after boiling. Excess moisture creates steam, which softens the exterior. Always pat your potatoes dry and cook them in a single, spaced-out layer.
Should I peel potatoes before frying?
Peeling is optional but recommended for the "craggy" texture. While skins offer fiber, removing them allows the baking soda parboil to create a starchy slurry on the surface, which is the secret to a glass-like, professional crunch.
What is the best oil for frying potatoes?
Use an oil with a high smoke point like avocado oil, ghee, or duck fat. Avoid extra virgin olive oil or whole butter for the main frying stage, as they will burn and turn bitter before the potatoes are crisp.
How do I keep fried potatoes from sticking?
Ensure your skillet is fully preheated before adding the fat and potatoes. Most importantly, do not attempt to flip the potatoes until they naturally release from the pan; this indicates that a solid crust has successfully formed.